Webmail – The Basics
This article sets out to teach the basic and most common functions of Webmail. Whilst we aim to cover everything, more detailed instructions can be found in other areas of our Knowledge Base articles at https://www.register365.com/knowledge
Our new Webmail interface provides a powerful online alternative to using a conventional mail client on your local machine such as Microsoft Outlook and Mac Mail. This guide will provide some assistance with the basic functionality of the Register365 Webmail facility.
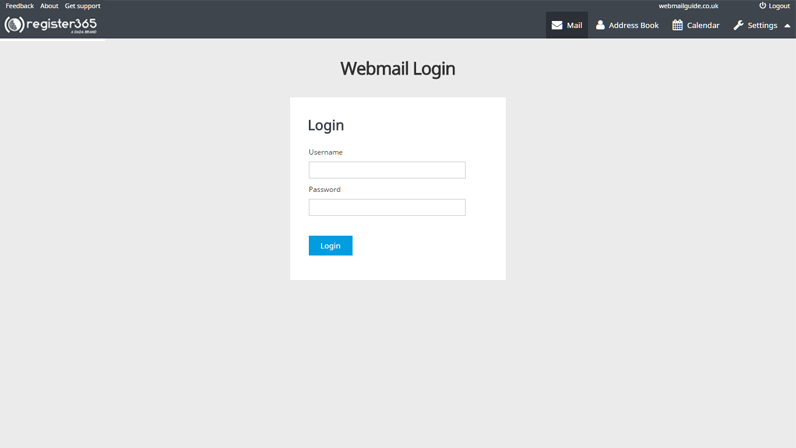
To login to Webmail, browse to https://webmail.register365.com – Here you will need to enter your mailbox name/username and the password set for the mailbox.
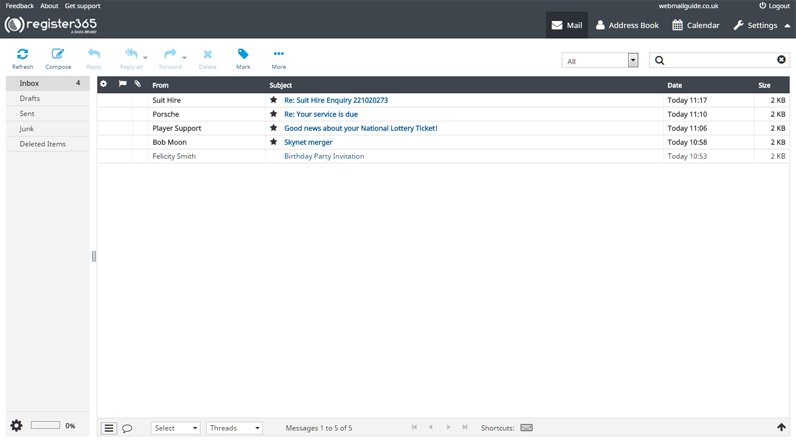
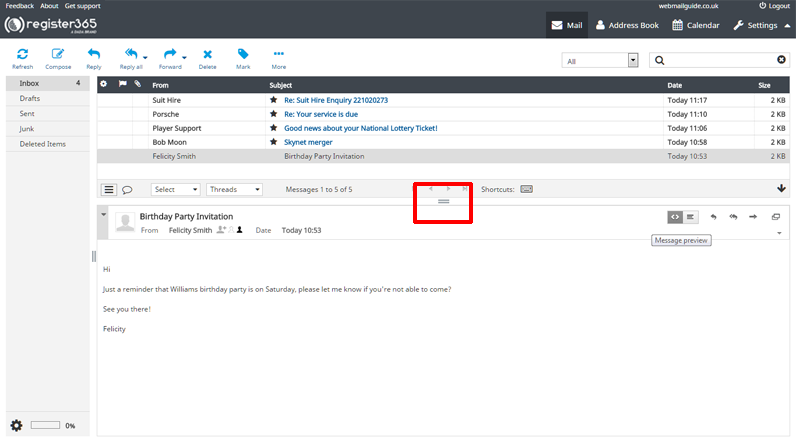
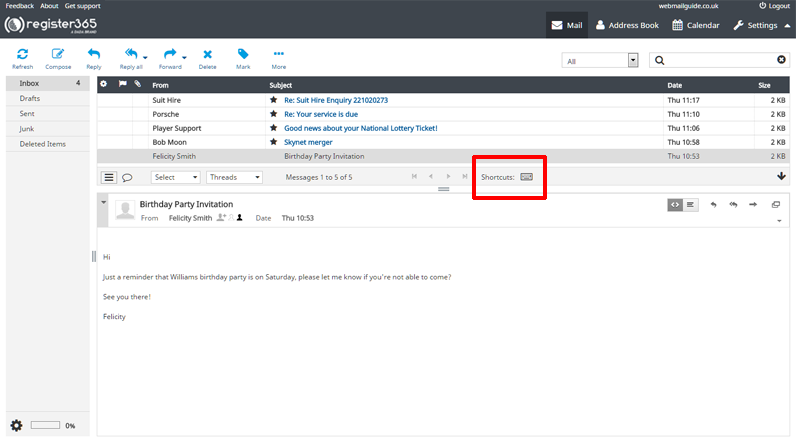
Now you are logged in, you will be looking at the inbox of your account, which will look like the screenshot below:
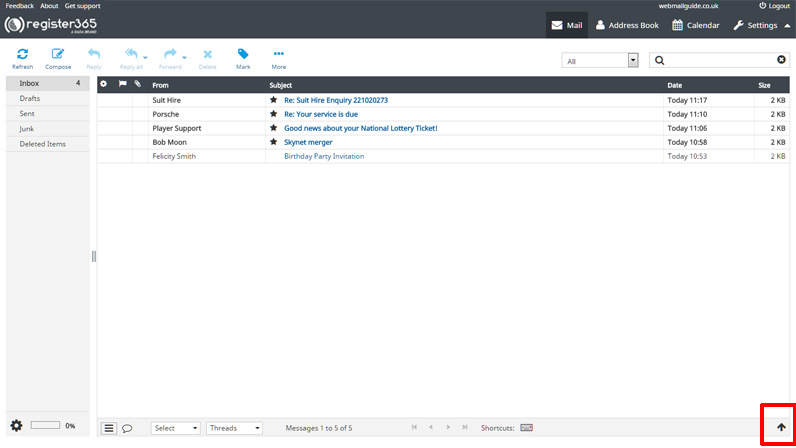
To read an email from here, you can either double click the email you wish to read which will make it full screen, or you can enable the preview pane by selecting the icon, this is located in the bottom right of the screen. You can click this arrow again at any time to hide the preview pane.
With the preview pane enabled (as shown below) a single click on each of your listed Emails will reveal the full content in the lower section of the screen – the preview pane. You can use the slider to make the preview pane larger or smaller:
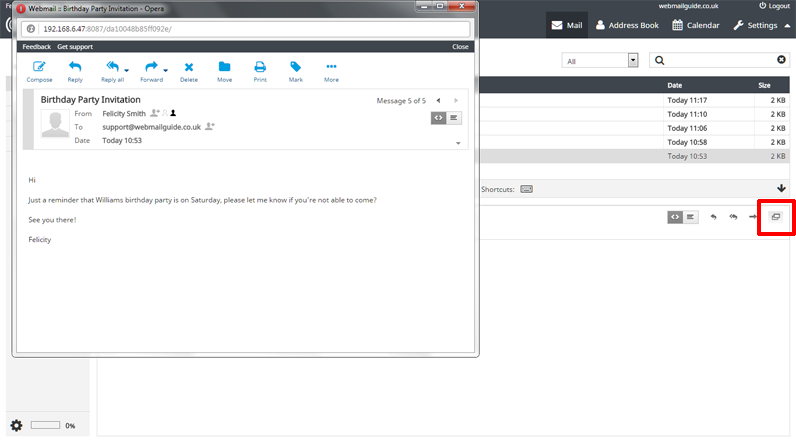
By clicking the icon shown below, you can open one Email, or multiple Emails into new windows on your computer. The window’s will remain open when you log out of webmail too but you’ll be prompted to login again if you try to respond through any of them.
Composing a new email
To begin composing an email, select the Compose icon as indicated in the image below:
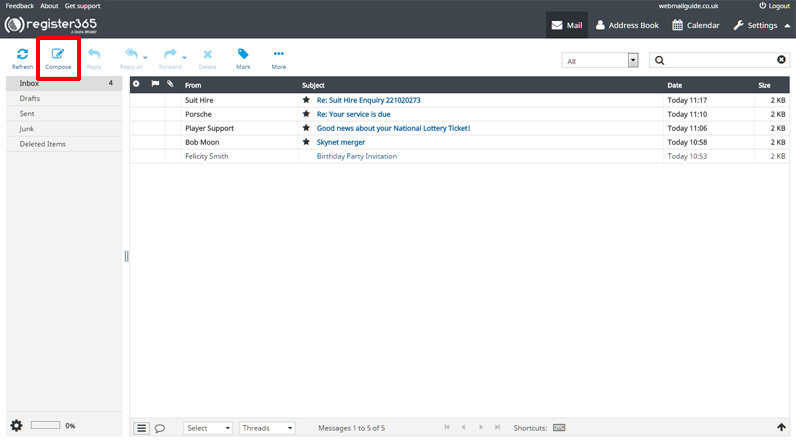
Now that you’ve clicked on the compose icon, you should see a screen like this:
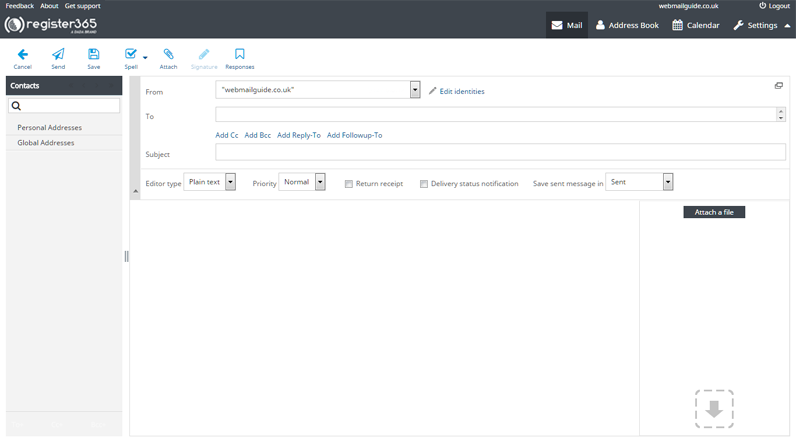
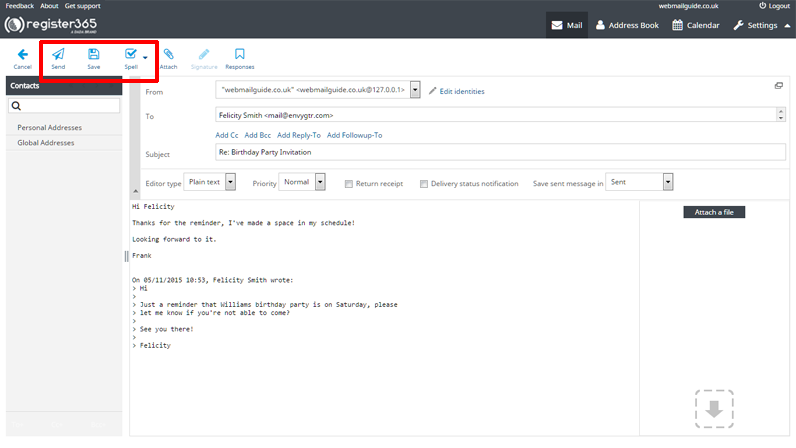
The icons highlighted from left to right are, Send, Save, Spell Checker, Attach a file, Insert Signature, Insert a predetermined response. Instructions on how to add a signature and a predetermined response can be found further on in this article.
As you’d normally expect, you have the text formatting tools above where you will compose your Email. If you’re unable to see these it may be necessary to click on to ‘Editor Type’ and select ‘HTML’ as opposed to ‘plain text’, once you have done this, the text formatting toolbar will appear.
The text formatting toolbar located above the area in which you type your message, work exactly as you would find in Microsoft Outlook or any of your typical Microsoft Office product interfaces.
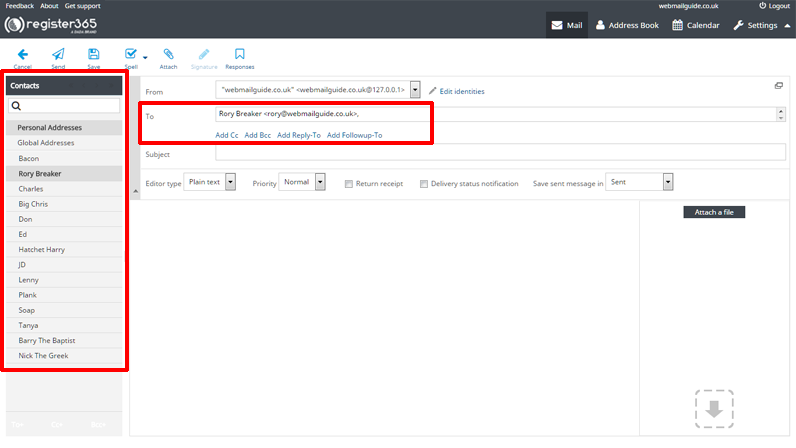
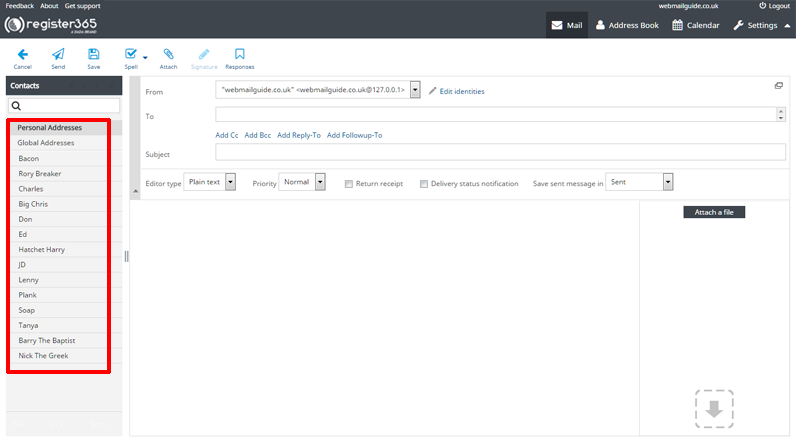
The recipient field can be filled in manually, or you can use the Contacts column on the left to add recipients from your list of saved contacts. First choose the group of contacts you wish to address, such as ‘Personal Addresses’, then double click the contact or multiple contacts you would like the Email to be sent to. Please see the Address Book section further along in this article to find out how you can best utilise the Contacts section.
Once you have finished writing your message, you can choose to ‘Send’ sends the message immediately, ‘Save’ pops your message into your drafts folder if you would prefer to finish writing it or just send it at a later point in time. If you’d like to check the spelling of your Email beforehand then the ‘Spell’ option will help with this.
Actioning an email
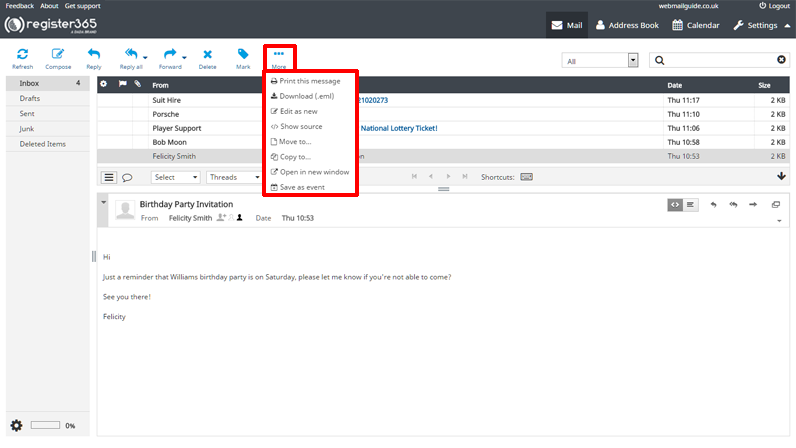
When you have an Email open in your preview pane or in full screen, the ‘More’ menu option at the top of the page offers you an extra set of options you might want to use with reference to this particular Email.
You can:
- ‘Print this message’ so that you have a hard copy and can file it away in your office.
- ‘Download’ the Email so you can file it on your computer and refer to it as an electronic copy even if the Email on webmail has long been deleted.
- ‘Edit as new’ allows you to compose a new Email copying the received Email in the trail of your communications.
- ‘Show Source’ gives the technical details of the Email including timestamps and message headers.
- ‘Move to’ takes the message out of your inbox and into another designated folder.
- ‘Copy to’ keeps a copy of the message in your inbox but also saves a copy of the message into another designated folder.
- ‘Open in new window’ does what it says.
- ‘Save as an event’ allows you to schedule whatever event the Email is with reference to, into the calendar area in webmail.
In inbox view, you’ll notice the Shortcuts symbol, when you click on this you’ll see a list of Keyboard Shortcuts, by pressing any of the characters listed, you can access other parts of Webmail, or action commands without moving or even touching your mouse, once you become familiar with them, even just the most commonly used ones, it becomes just another way to work quicker.
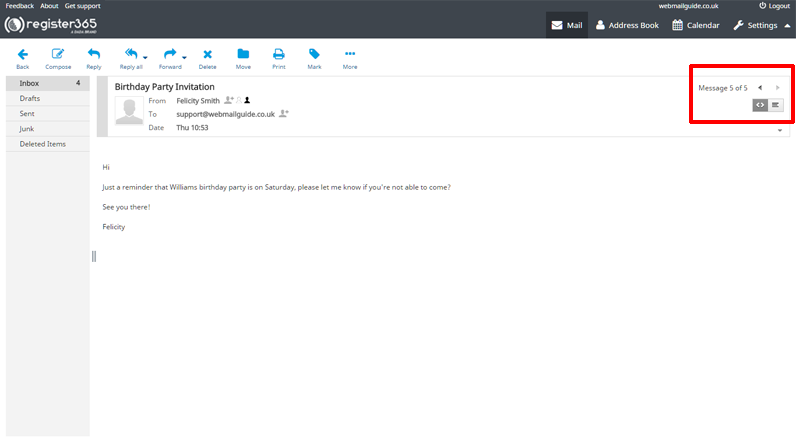
When in your webmail inbox, single click an Email in your inbox, you can skip from one Email to the next really quickly using the up & down arrows on your keyboard. Also, if you prefer to read your Emails in full screen, you can flick through your messages using the arrow keys on the screen, just click these using your mouse.
You can now use your up and down arrows on your keyboard to quickly switch between Emails, press delete on your keyboard to remove any unwanted Emails, Hold down CTRL on your keyboard (PC) or CMD (if using a Mac), now pressing the up or down arrows on your keyboard will select multiple selected Emails, pressing delete on your keyboard or in Webmail will remove them all.
Using the Address Book
Within Webmail it is possible for you to build a list of Personal Addresses, and share a list of Global Addresses which will be available to all other users of Webmail on your domain name.
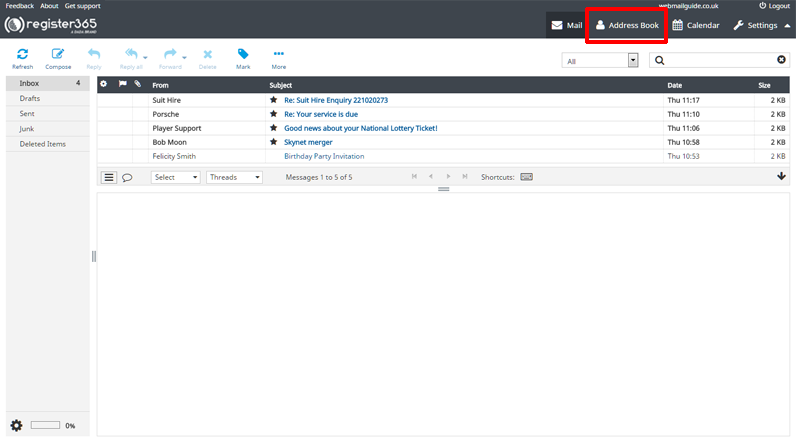
To add a contact to the Address Book, start by selecting the Address Book icon from the menu on the top right of Webmail, as shown below.
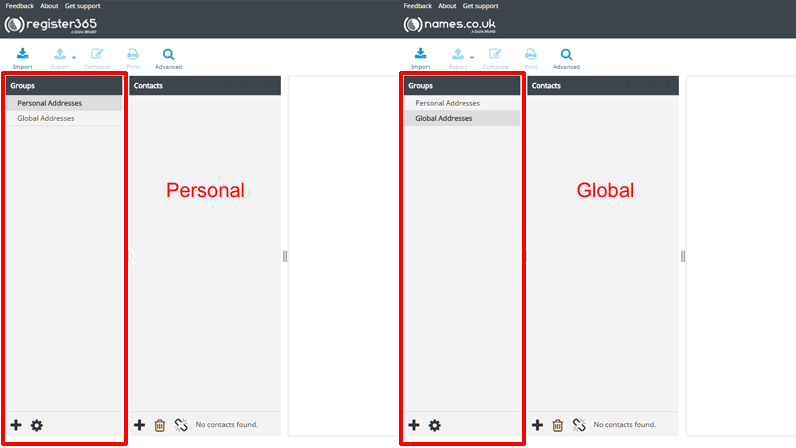
From the next screen, you’ll see that there are two columns, the far left is entitled Groups, the column to the right of that is entitled Contacts and at the bottom of each is a + symbol. On the left column, the + symbol allows you to create a new group, by first highlighting Personal Addresses or Global Addresses, you will determine if the group you are about to create is to contain contacts only to be seen by you (Personal Addresses) or by all other users of Webmail on your domain name (Global Addresses), depending which of the two group types you have selected, will determine the ‘parent group’ of the subsequent new group you create and will be displayed beneath that group as new contacts are added to it.
Similarly, the + symbol at the bottom of the Contacts column will add a new Email contact to whichever group you have selected at the time.
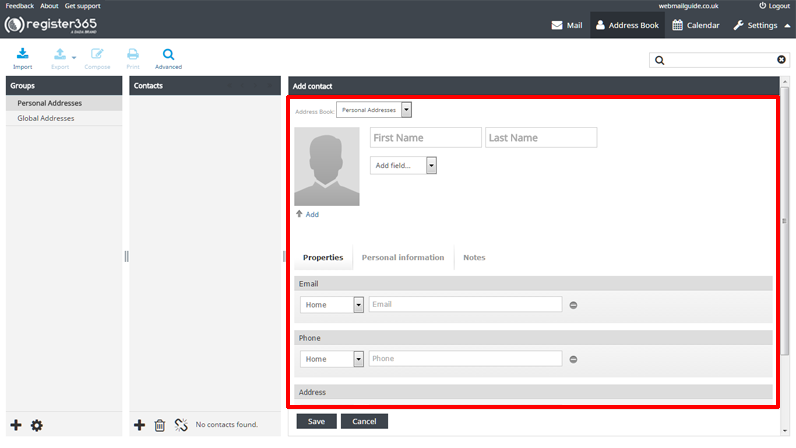
On pressing the + symbol the Add contact column will appear. Here you can add the details of your Email contacts, including contact information, their personal information such as their gender and birthday, also there’s a notes option so if you need to log any additional information about the Email contact, even add a picture of them, you can do so here.
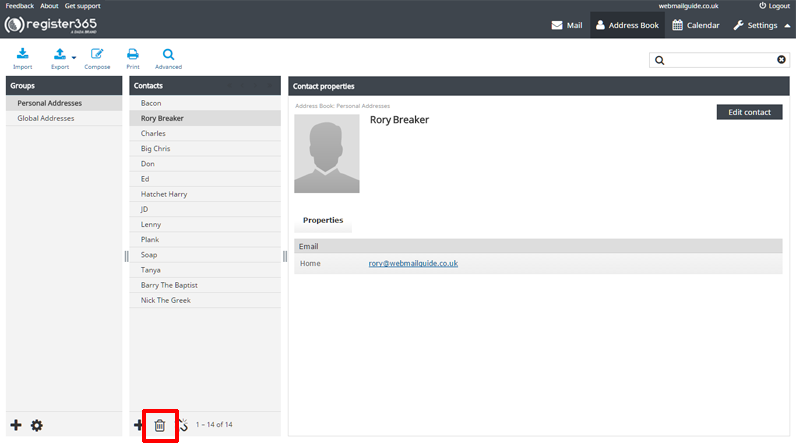
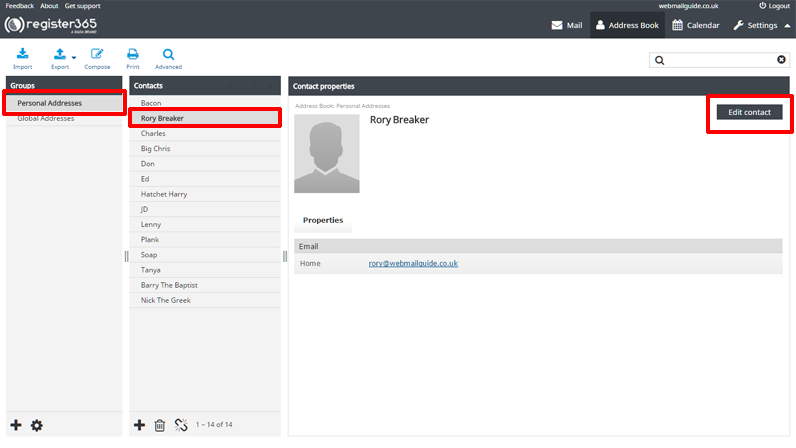
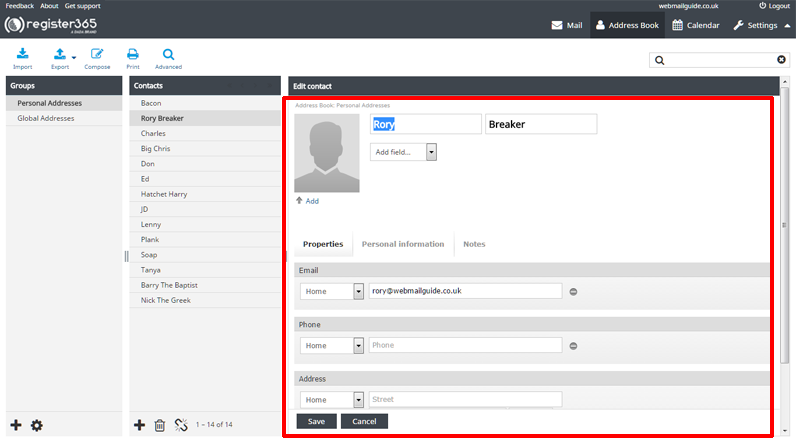
If you need to edit the details of a contact, select the group your contact exists in from the Groups column, click the contact you wish to edit from the Contacts column and click the [Edit Contact[/bold] button.
Should you want to delete a contact, select the group in which your contact exists from the Groups column, select the contact you wish to delete from the Contacts column and click the TRASH ICON button.

In this form, you can add as much or as little information about the contact as you wish. Once you are happy with the information (which you can modify at any time) select ‘Save’ or if you change your mind, select ‘Cancel’.
Once you have contacts saved in the Address Book, you can easily access this list of contacts when composing emails from the left hand side of webmail. Just double click one or more of them.
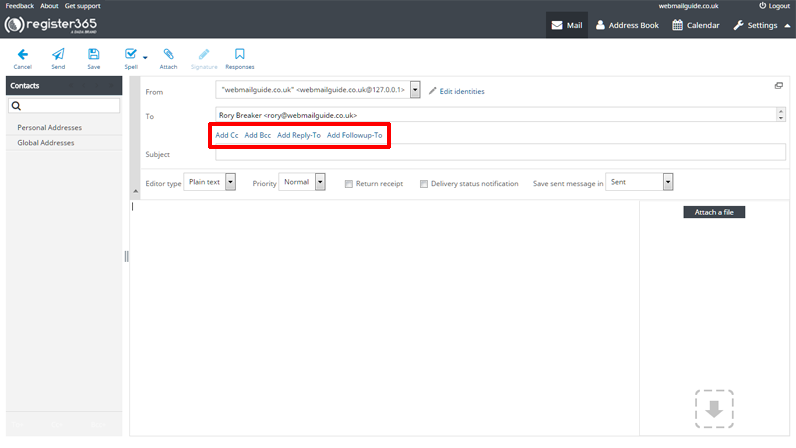
To add additional recipients to your Email, you can select ‘Add CC’ to ‘carbon copy’ recipients, or you can ‘Add BCC’ to ‘Blind Carbon Copy’ recipients, the option which allows you to send Email to more people in a way that can’t be seen by the main recipient. Adding a ‘Reply-To’ Email address will redirect the recipients replies to your Email to a preferred Email address as opposed to coming back to yourself, if you so wish. ‘Add Followup-To’ allows you to maintain a group of recipients for further communications along this particular Email trail.
Adding a signature
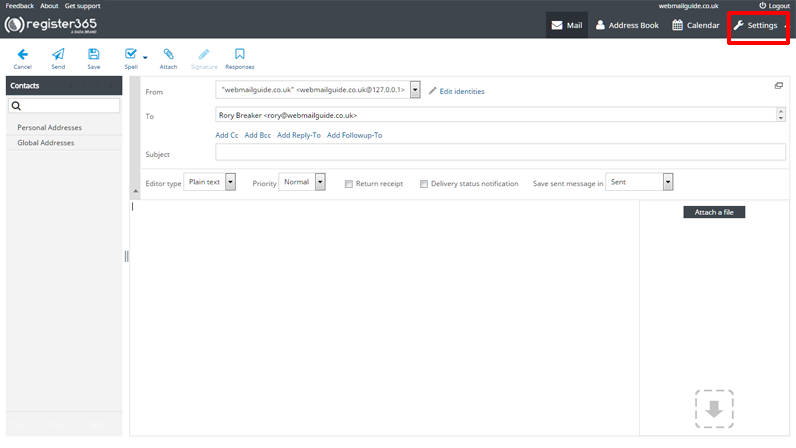
To create a signature that will appear at the footer of each of your Emails in webmail, first select ‘Settings’ from the top right of the screen.
You can add a signature to your webmail account which you can then chose to attach or remove from any email you send out. The signature will accept HTML code, so it is possible to add links, and even pictures to your signature.
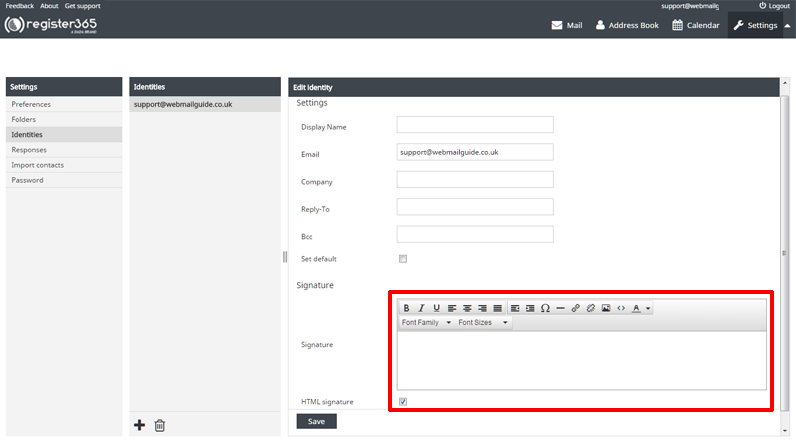
To add a signature, first select ‘Identities’ from the far left column of Webmail, to the right of that select the Email address on which you want this signature to appear(Yes, you can send from multiple Email addresses each with different signatures), then click in to the ‘Signature’ box and commence by adding your desired text in your desired format right here before pressing ‘Save’ to ensure the signature is kept.
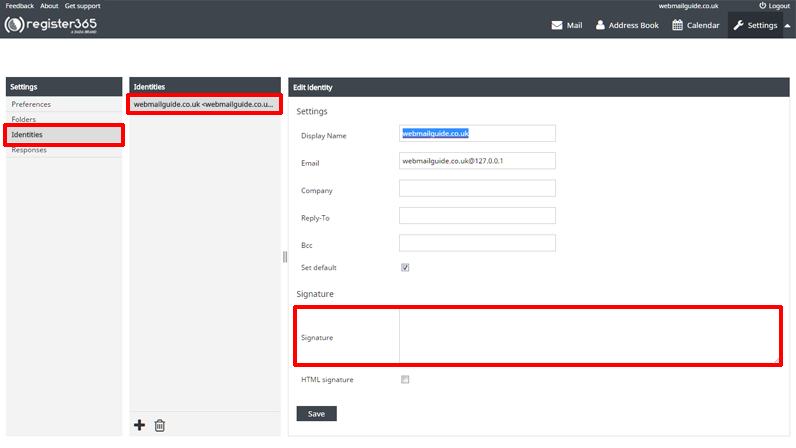
By default a HTML signature will not be enabled but you may wish for your company logo to appear in your signature and also to have a link for your website, to do this ensure that you have ticked the ‘HTML Signature’ box beneath the signature field, note that if you already have text in your signature box, copy this text as ticking the ‘HTML Signature box’ may delete its contents. You’ll then see a screen like this, where you can create your HTML signature: