Add new address book contacts in WebMail
– Within Webmail it is possible for you to build a list of Personal Addresses, and share a list of Global Addresses which will be available to all other users of Webmail on your domain name.
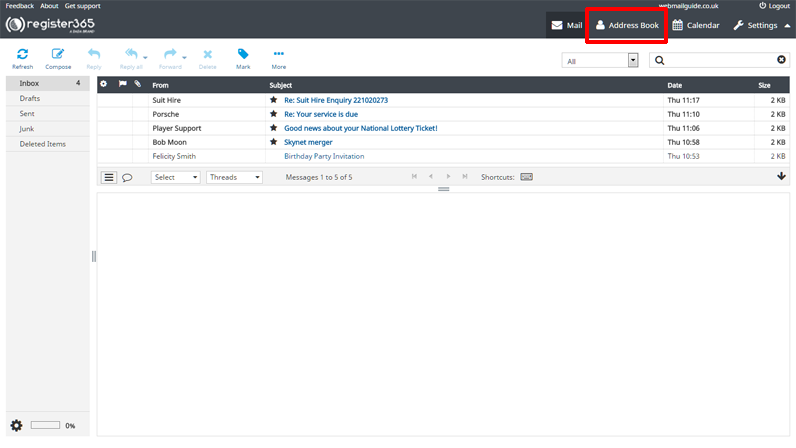
– To add a contact to the Address Book, start by selecting the Address Book icon from the menu on the top right of Webmail, as shown below.
– From the next screen, you’ll see that there are two columns, the far left is entitled Groups, the column to the right of that is entitled Contacts and at the bottom of each is a + symbol. On the left column, the + symbol allows you to create a new group, by first highlighting Personal Addresses or Global Addresses, you will determine if the group you are about to create is to contain contacts only to be seen by you (Personal Addresses) or by all other users of Webmail on your domain name (Global Addresses), depending which of the two group types you have selected, will determine the ‘parent group’ of the subsequent new group you create and will be displayed beneath that group as new contacts are added to it.
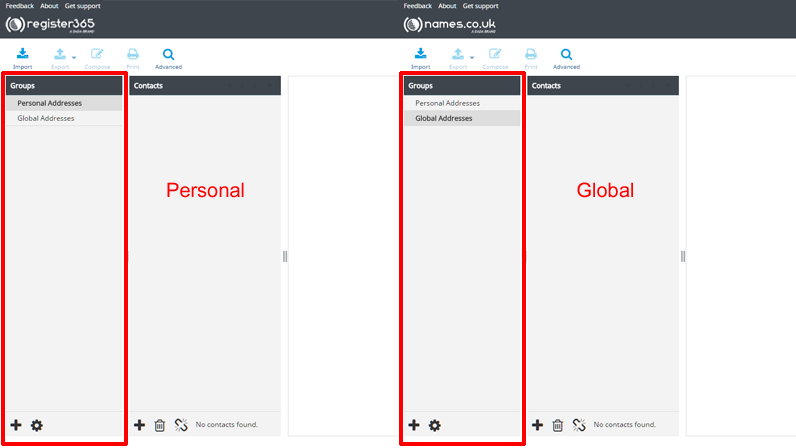
– Similarly, the + symbol at the bottom of the Contacts column will add a new Email contact to whichever group you have selected at the time.
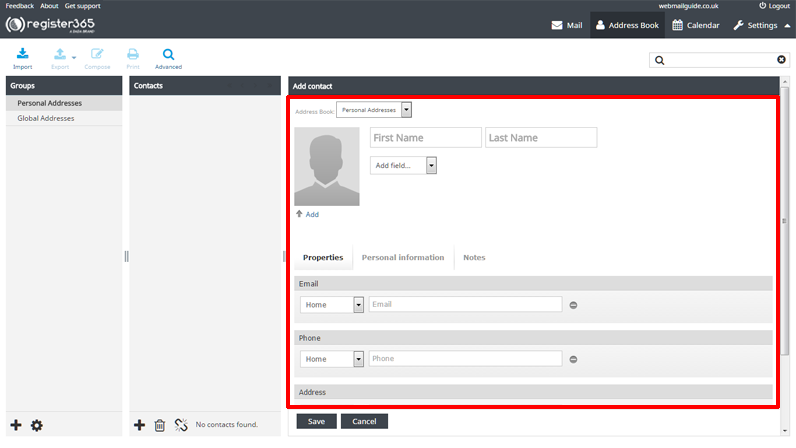
– On pressing the + symbol the Add contact column will appear. Here you can add the details of your Email contacts, including contact information, their personal information such as their gender and birthday, also there’s a notes option so if you need to log any additional information about the Email contact, even add a picture of them, you can do so here.
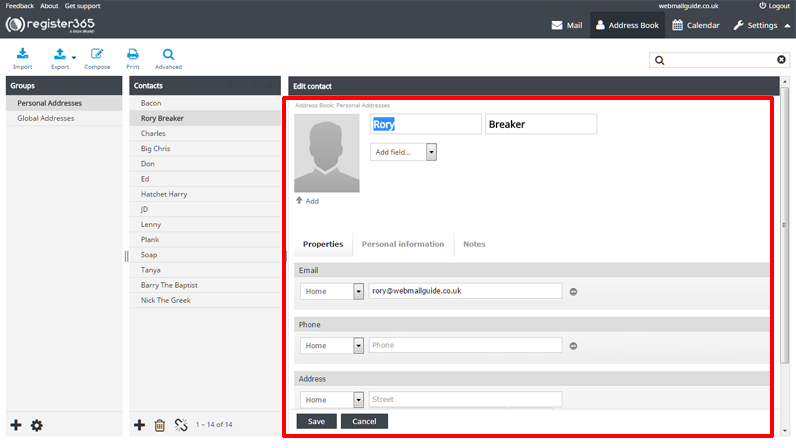
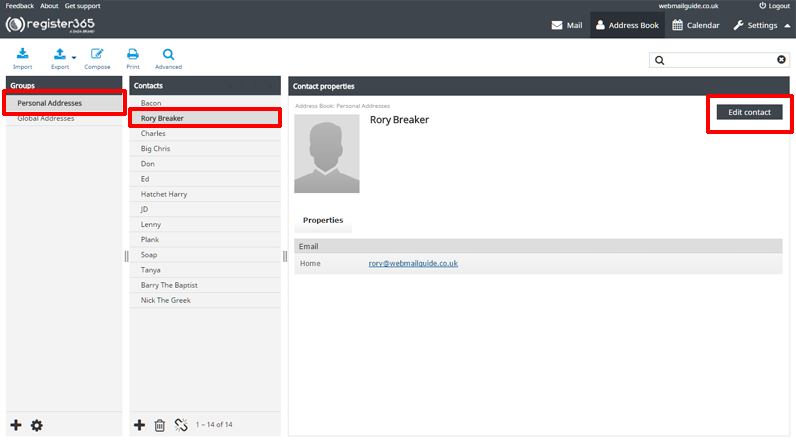
– If you need to edit the details of a contact, select the group your contact exists in from the Groups column, click the contact you wish to edit from the Contacts column and click the Edit Contact button.
– Should you want to delete a contact, select the group in which your contact exists from the Groups column, select the contact you wish to delete from the Contacts column and click the trash icon button.

– In this form, you can add as much or as little information about the contact as you wish. Once you are happy with the information (which you can modify at any time) select ‘Save’ or if you change your mind, select ‘Cancel’.