How to add images in CloudSite
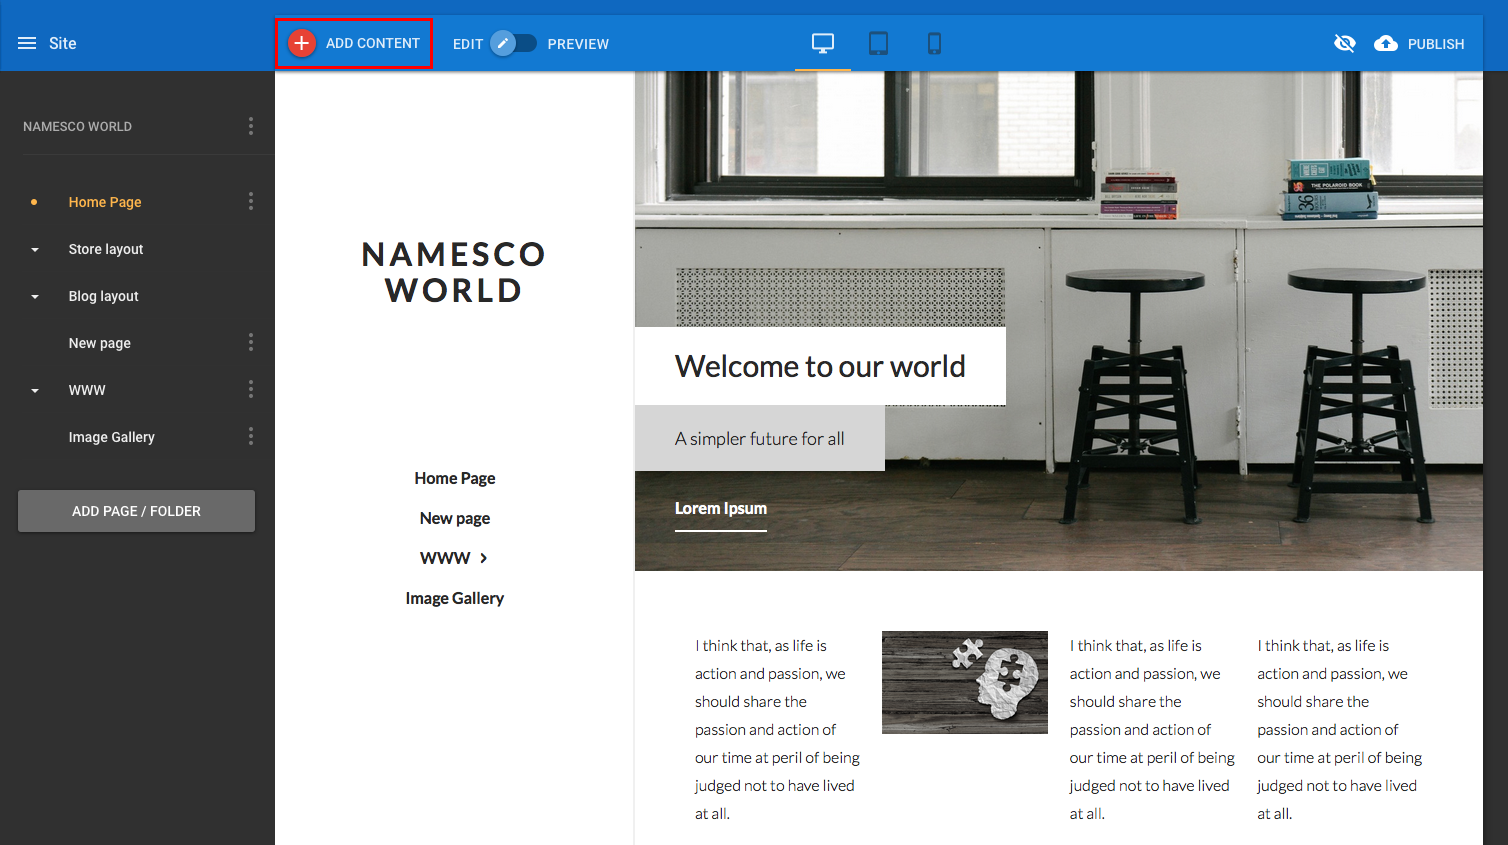
First of all, click on the Add Content button in the top navigation bar.
Press and hold your left mouse button on the Image button on the left hand menu.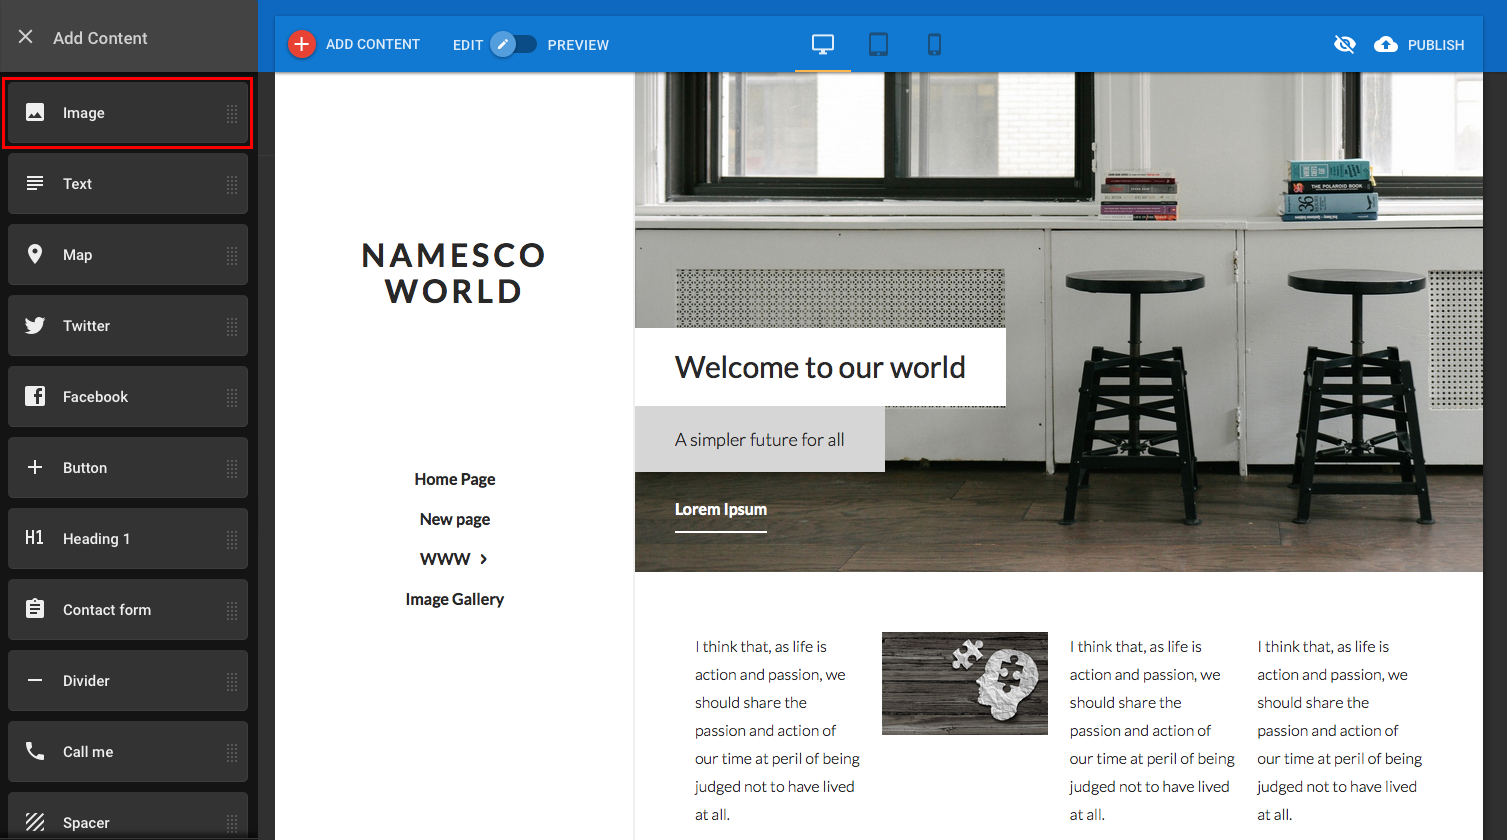
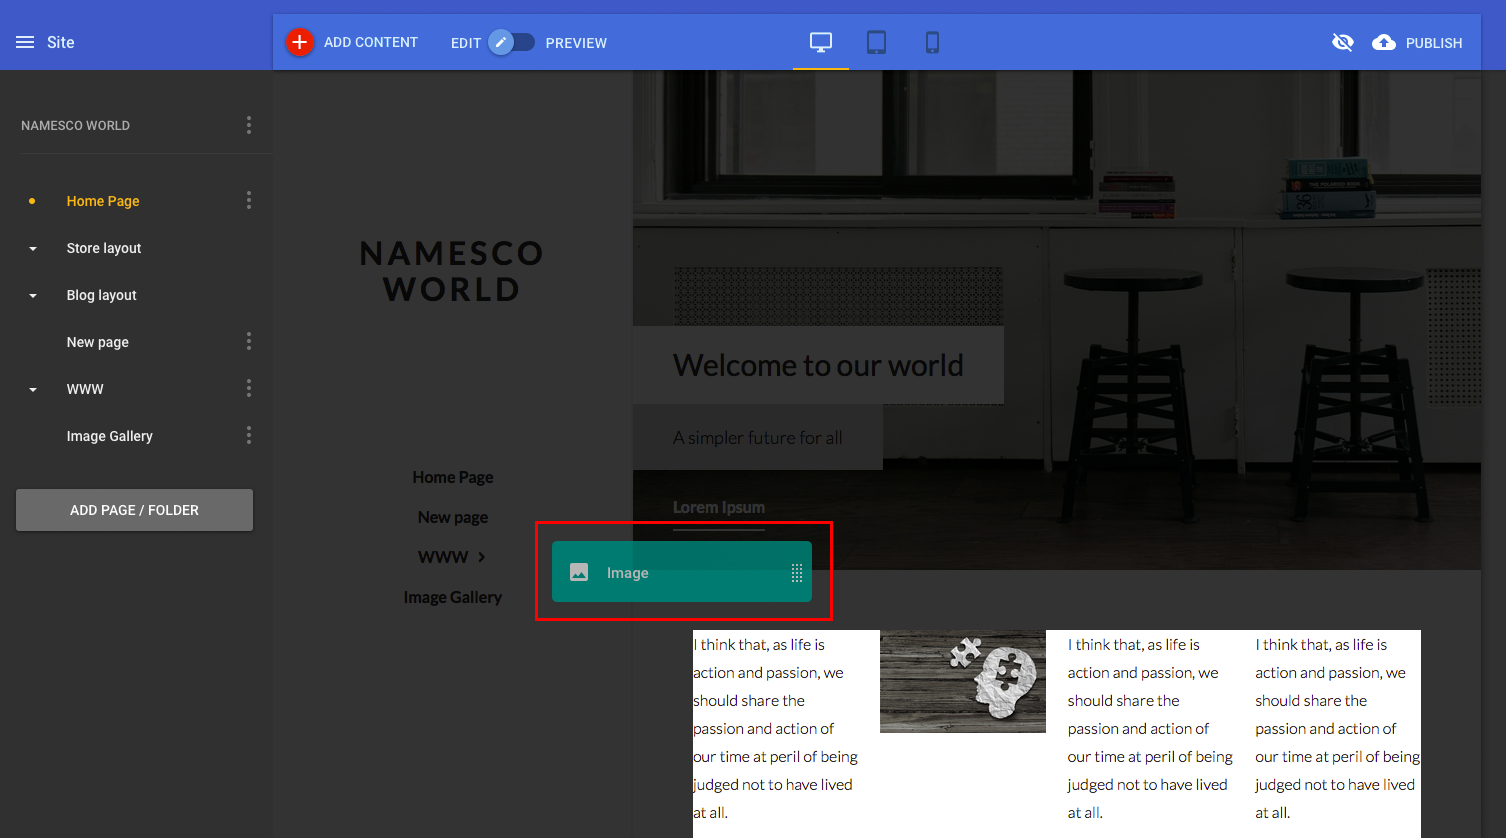
Drag the Image button over to the design area and as you do so you’ll notice areas of the web page light up indicating that an image can be placed there. Not all areas of the website will accept the feature you drag on to it, only areas of the page where the object can be placed.
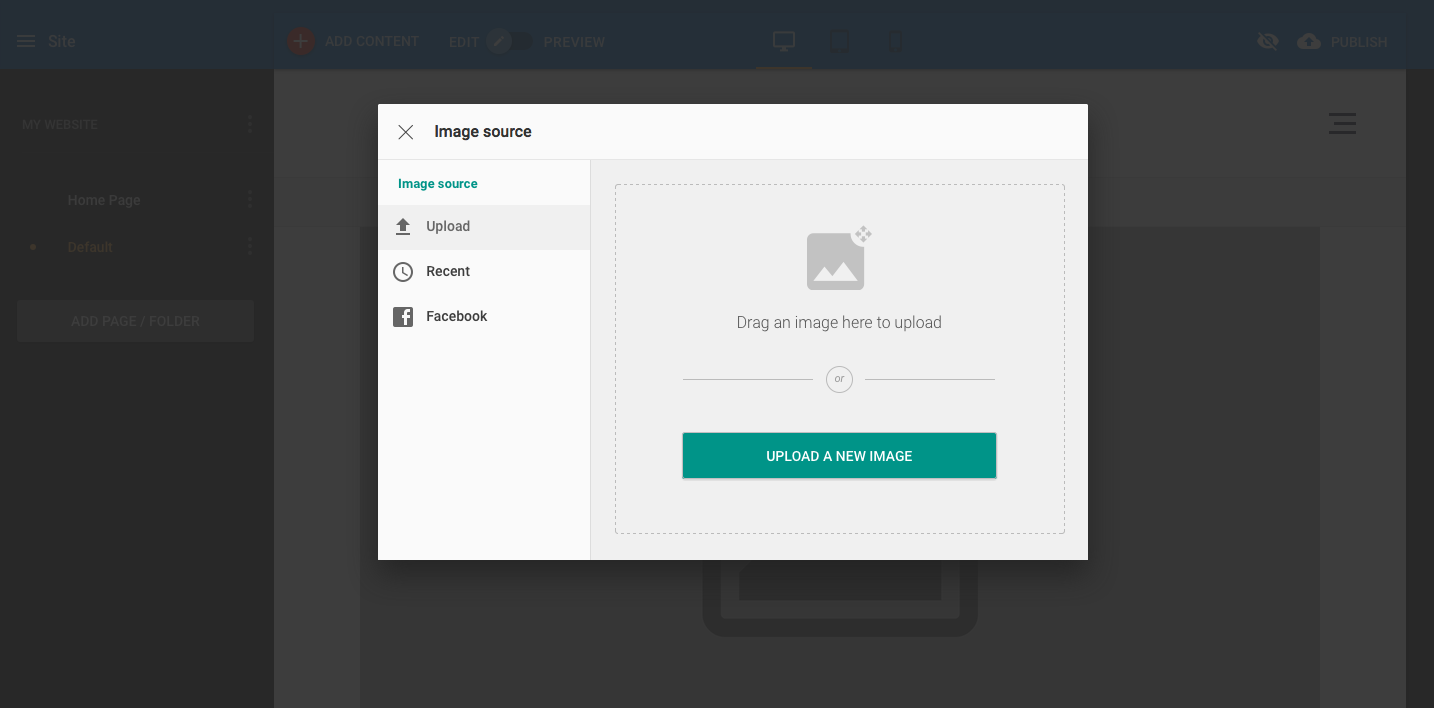
The add image window will appear, whereby you can upload images from your own computer to CloudSite, this is one of three options in the left hand menu of this window and the default option.
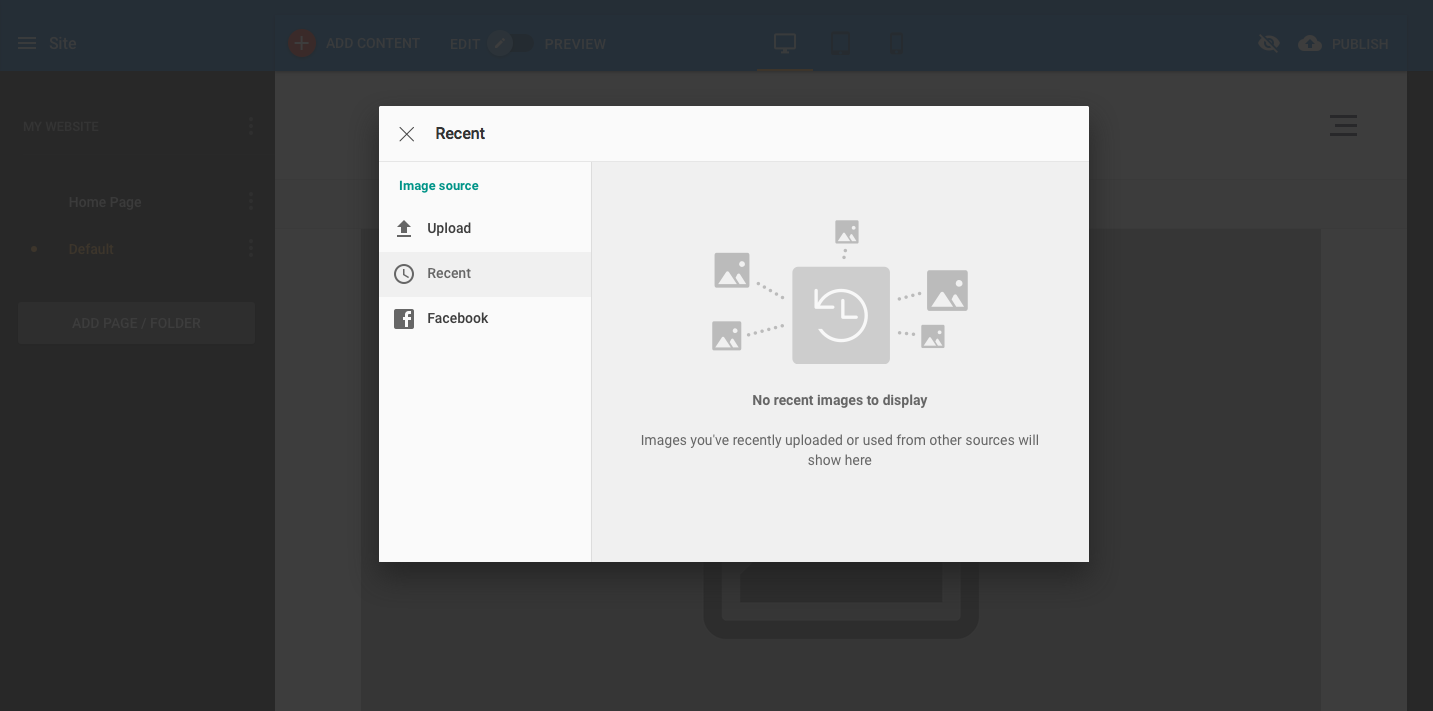
By clicking on the ‘Recent’ menu option on the left hand menu, you’re presented with any recently used images on CloudSite, when images are displayed in the right hand pane you’re then able to select the image you wish to use again.
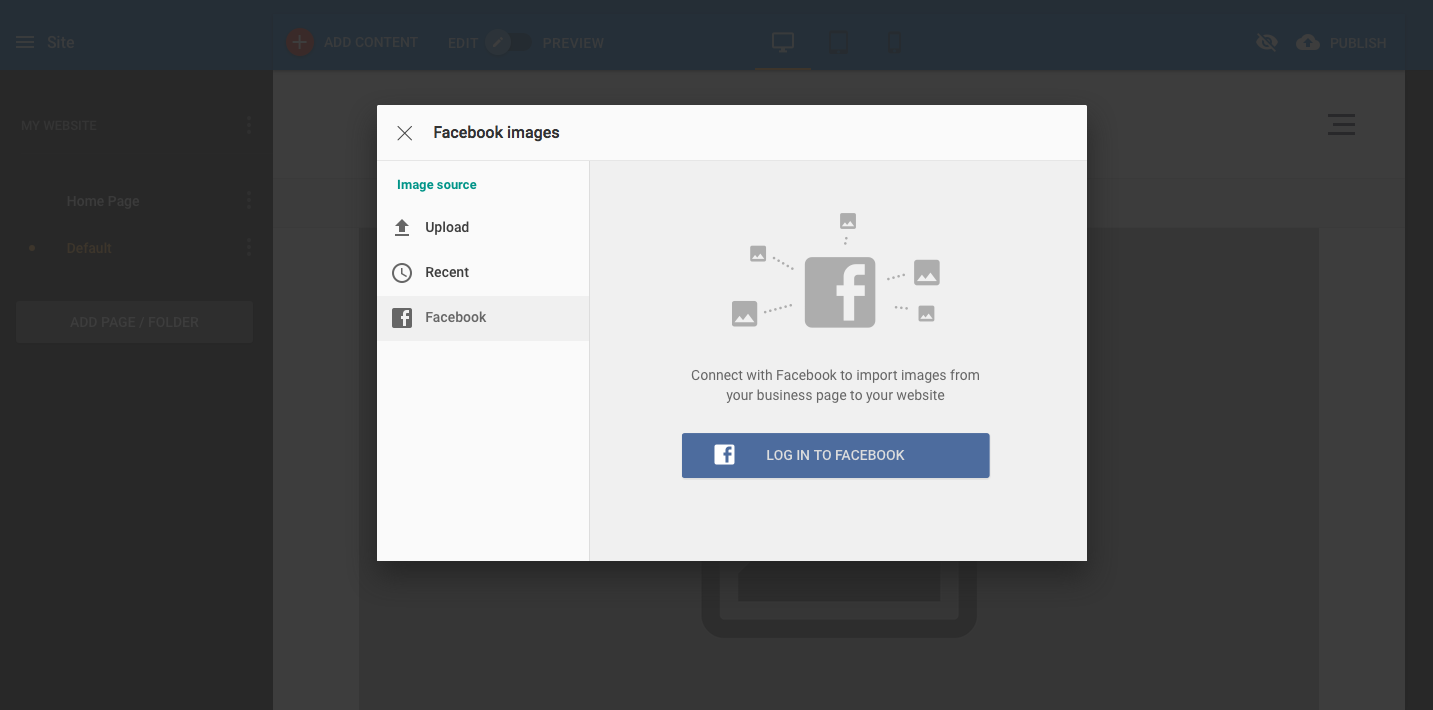
By clicking on the ‘Facebook’ menu option on the left hand menu, you’re presented with images sourced from Facebook, you’ll need to select the Log into Facebook option initially and then the images will display. Depending on your browsers settings the Facebook login will remain linked whenever you login to edit your site in future, if not you will be prompted to login again.