

How to configure FTP Security settings
As a responsible Hosting provider, Register365 treats security very seriously. That is why there are a number of security options that we apply to FTP connections, in order to reduce the chances of unauthorised users gaining access.
This article will explain the process of configuring those security settings.
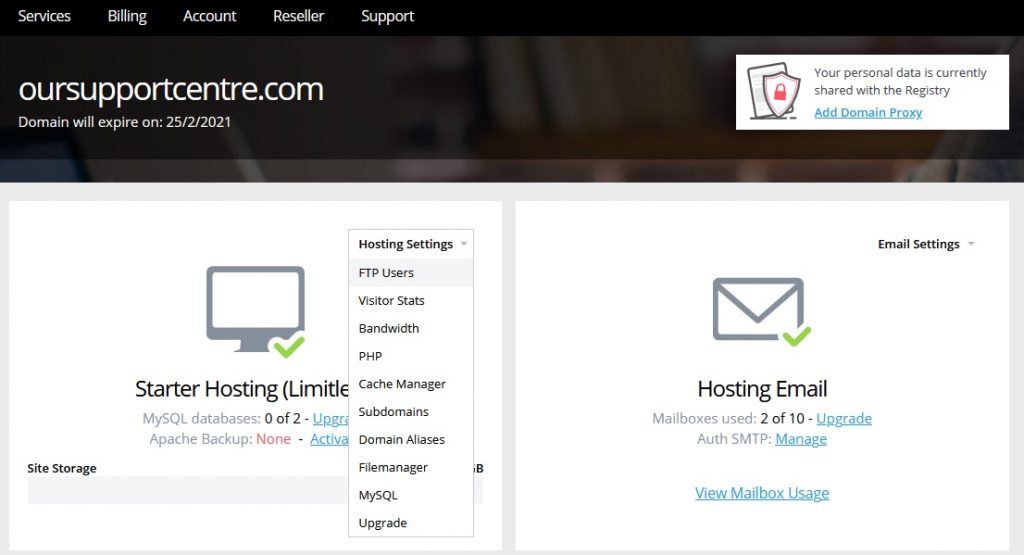
Once logged into your Control Panel, click on your domain (if you have more than one), and look for the Hosting Settings drop-down menu.
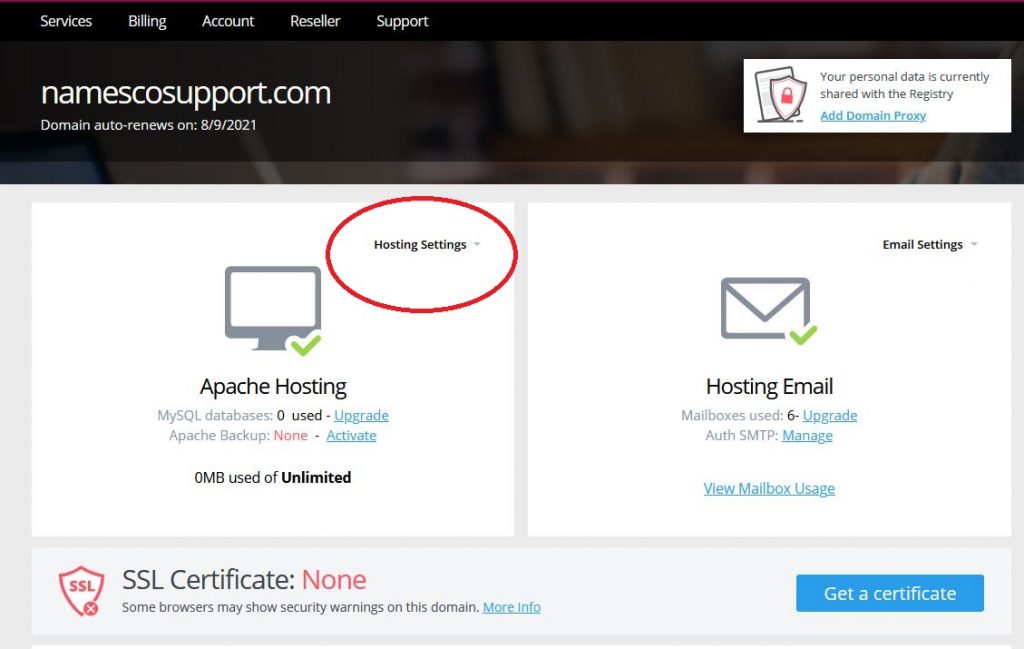
Choose the option called FTP Users.
This will take you to a page that displays any FTP Users for that domain. By default there will always be one, with a username that matches your domain. This user is the one that we recommend you use for all FTP activities, but any other users you may have created will also be displayed.
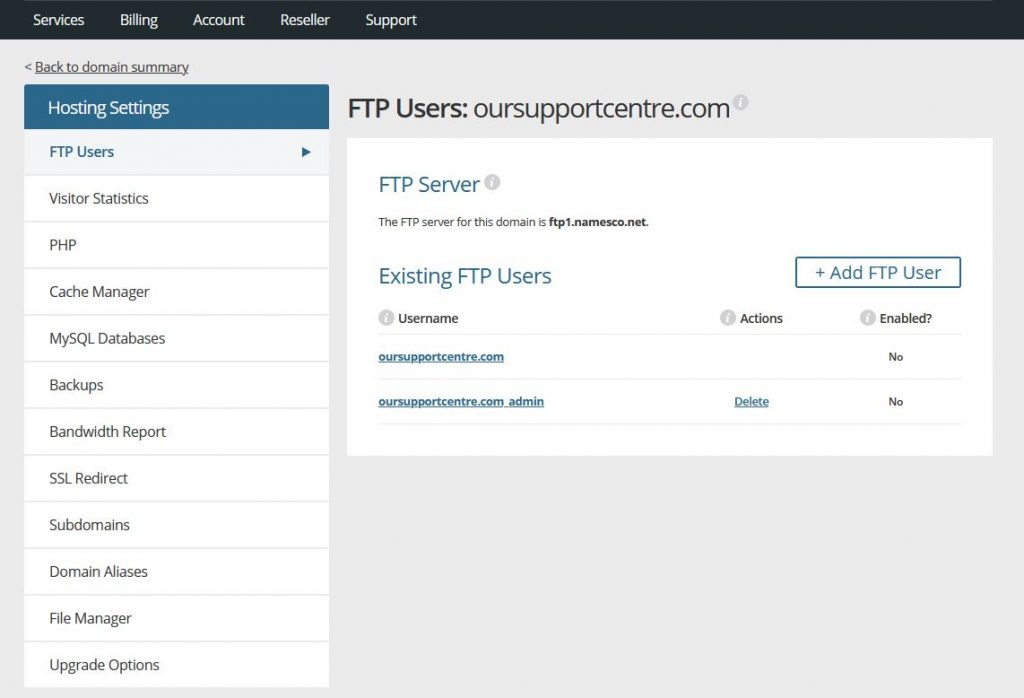
You will note that the default FTP user cannot be deleted, but can be disabled if required.
Clicking on an FTP user will take you in to manage the settings for that user.
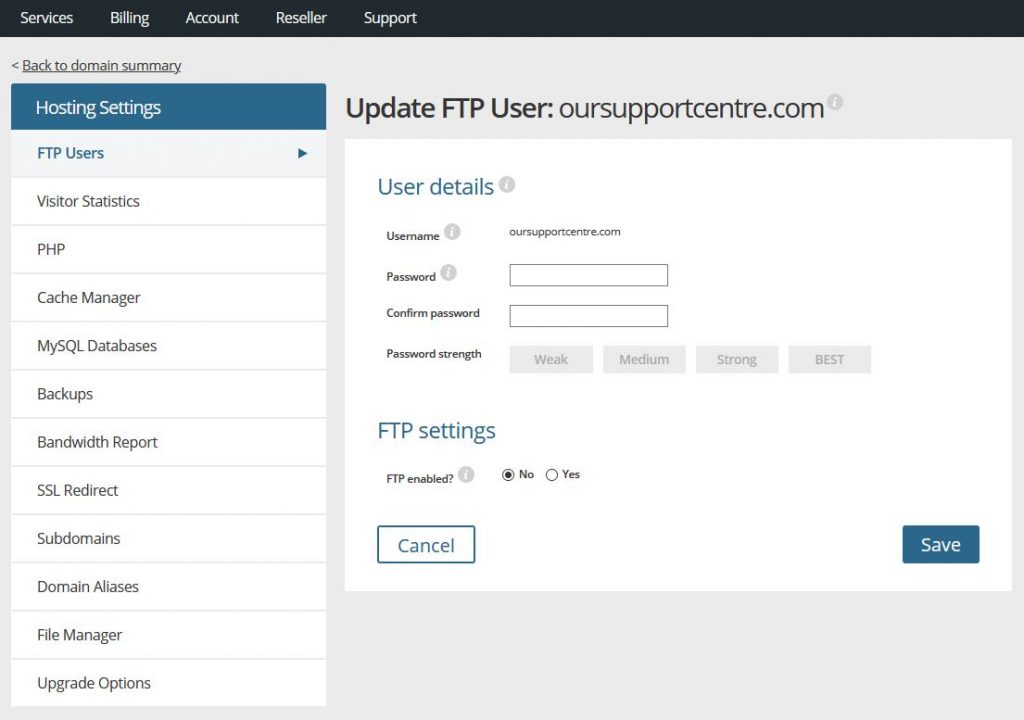
You can set a new password for the user if you like, but it cannot be used to connect via FTP until the FTP Enabled toggle further down the page is set to Yes.
Doing so will reveal further options.
You will first need to enable FTP if you wish to make a connection.
The next option allows you to specify which directory in the webspace you would like this user to have access to. If you are going to be making substantial updates to all parts of the website then you may want to leave this at the default setting, which will provide you with access to the entire contents of the webspace.
You next need to specify which IP Address will be used to connect with. By default, the box will be auto-filled with your current IP Address, and you can click on the Add button to add that in. Further ones can be added by manually typing them into the box and clicking on Add.
The final section allows you to allow FTP access from other IP Addresses that are not your own. As an example, you may have a web designer somewhere who will be updating your website but you’re not sure which IP Address they will be connecting from. Here you can open up access for a period of time, up to a maximum of 30 days.
When you have entered the necessary information, clicking on Save will complete the process.