SiteMaker: The Basics 4. Inserting Images
Adding images to your SiteMaker website follows the same process as adding text. First off start by selecting Insert from your toolbar. Again, you will notice that the object menu opens on the left side of your screen.
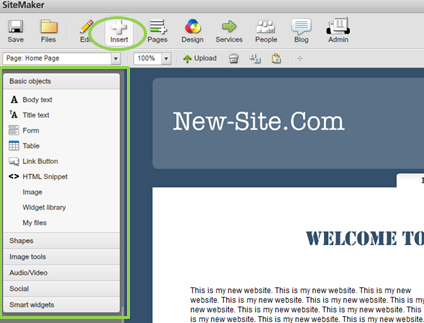
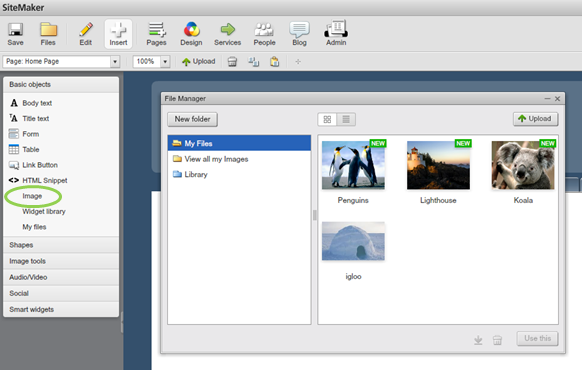
Select Image from the left menu and the ‘File Manager’ window will appear.
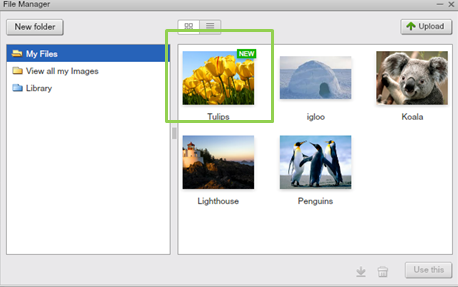
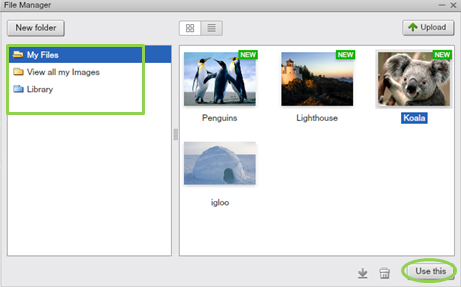
You can choose an image that you have uploaded yourself by selecting My Files or View all my Files, all you can select from a list of default images using the Library option. Click on the image you wish to use and click the Use this button.
Your chosen image will be inserted onto your website. You can reposition the image simply by dragging it into place. Drag the edges of the image to resize.

If you wish to upload your own images then select the Upload option, choose the image from your computer and then press Open.
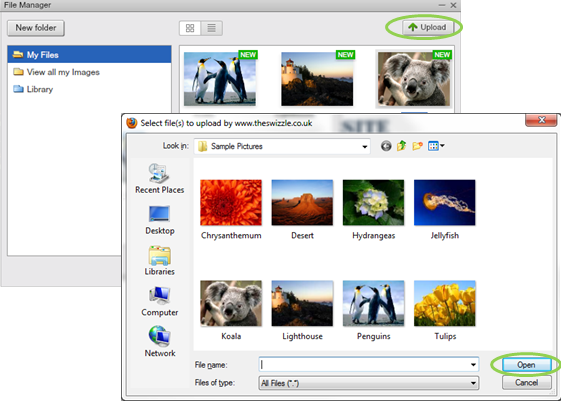
Your chosen image will now appear within the SiteMaker ‘File Manager’ and can be used on your website as previously explained.
