

Using the calendar in WebMail
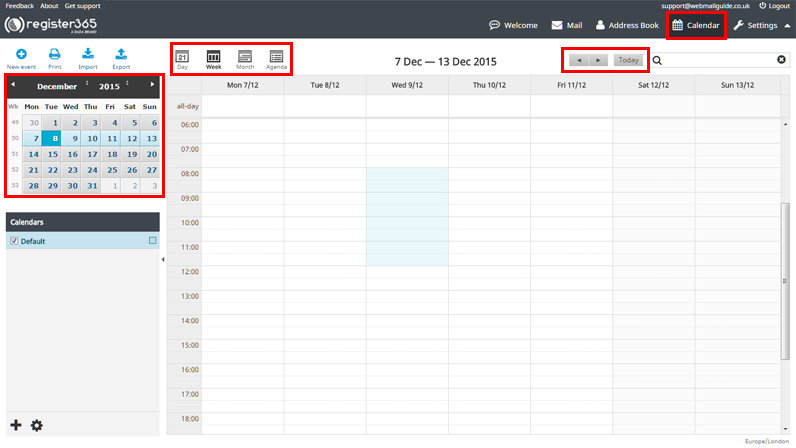
– To reach the calendar in WebMail, click on the ‘Calendar’ button in the menu to the top right of the screen, once here you can navigate your way through your WebMail calendar by day, week (by selecting the week number to the left of the calendar) month or year, using the familiar looking calendar to the far left, the Day/Week/Month or Agenda to the right of that, or to the right of the webmail navigation, you can use the left and right arrows to navigate in increments of one day, one week, or one month at a time, depending which of the icons you have selected in the left section.
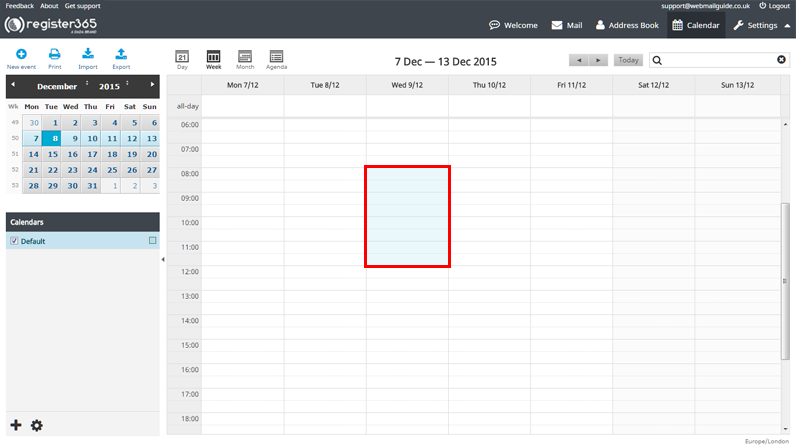
– To add an event to your calendar, you can select a single cell or multiple cells, depending how long the event is planned to last, in this example we are in the ‘week’ view, have selected 8am-12pm on Wednesday 9th December but equally if we are planning an all day event we can select ‘All Day’ from the top of the column referring to that day.
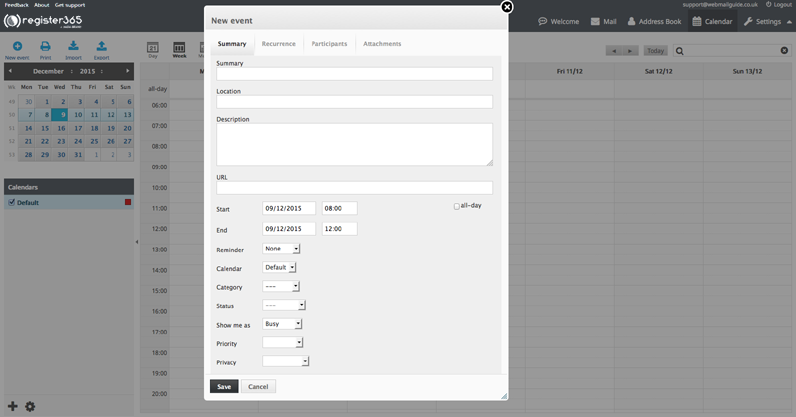
– Here in the summary of this event, we can list details of the event, give it a name, a location, more in depth details can be saved in the ‘Description’ area, the start and end dates and times can be specified, we can set a reminder to be sent to us prior to the event, which calendar you’d like this event to be saved to, set it as a personal, work, family or holiday event, set the status of this event as confirmed or cancelled, during this event you can set your status to be free, busy or tentative, set the priority of importance of this event and set the event to public, private or confidential.
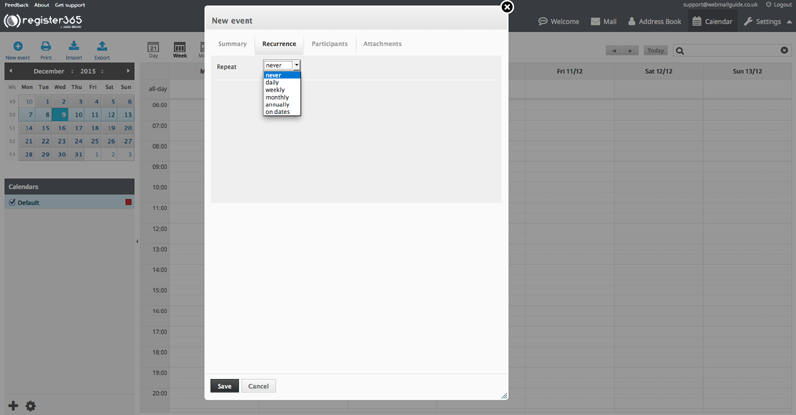
– You can set the recurrence of the event, to never reoccur, reoccur daily, weekly, monthly, annually or on specified dates.
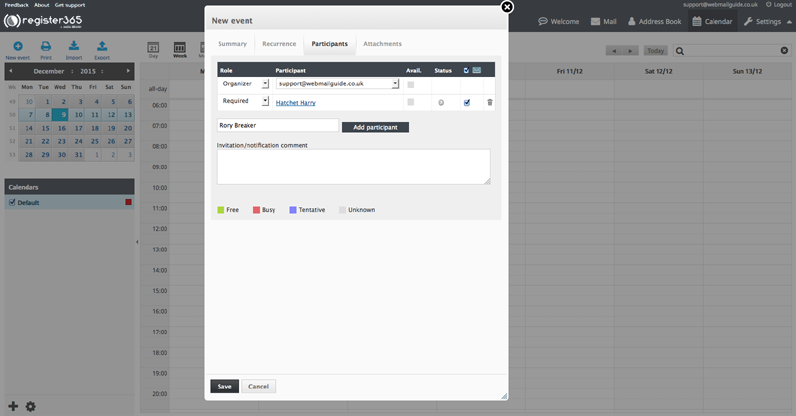
– List the participants to be attending the event.
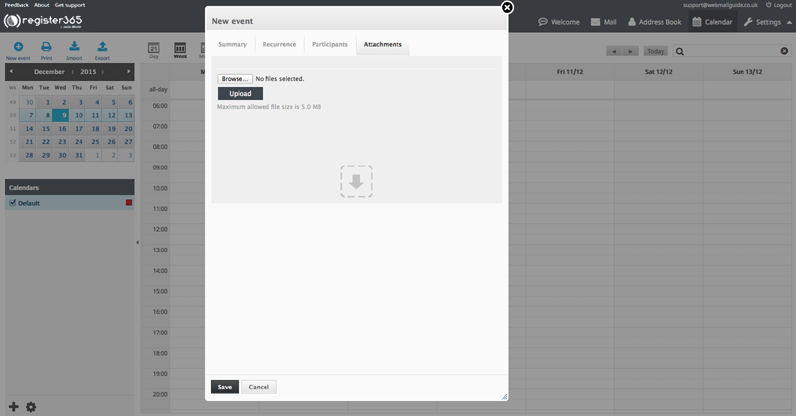
– You can add attachments too, so if you have an agenda or a map to get there, you can attach it here and have it handy for when you attend.
– When you are happy you have completed your event planning, press ‘Save’.