Writing a new Email
– To begin composing an email, select the Compose icon as indicated in the image below:

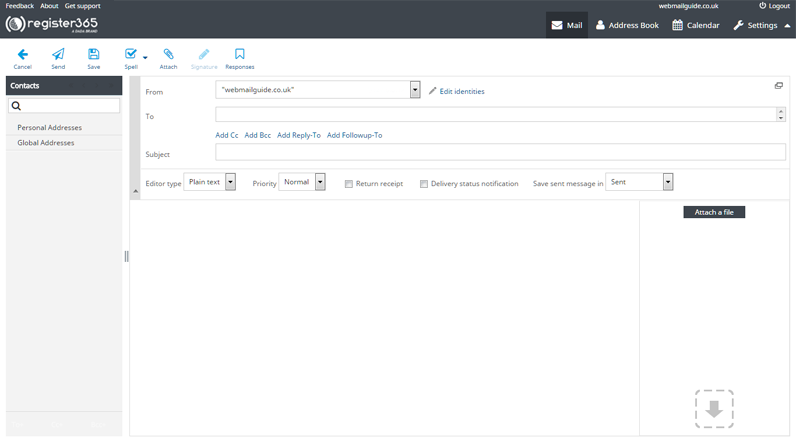
– Now that you’ve clicked on the compose icon, you should see a screen like this:
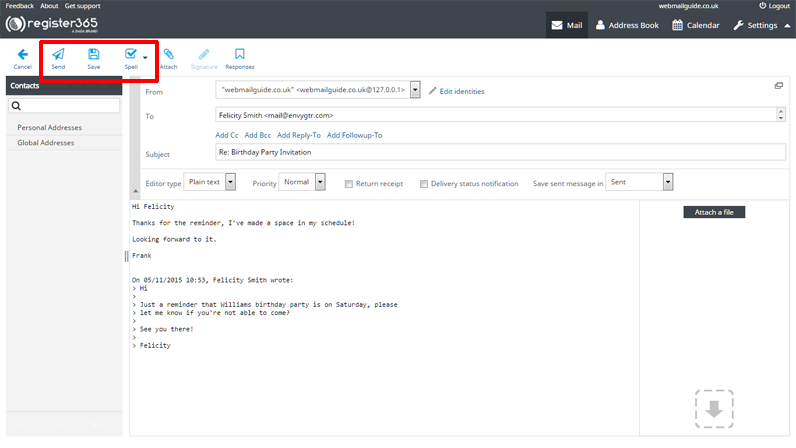
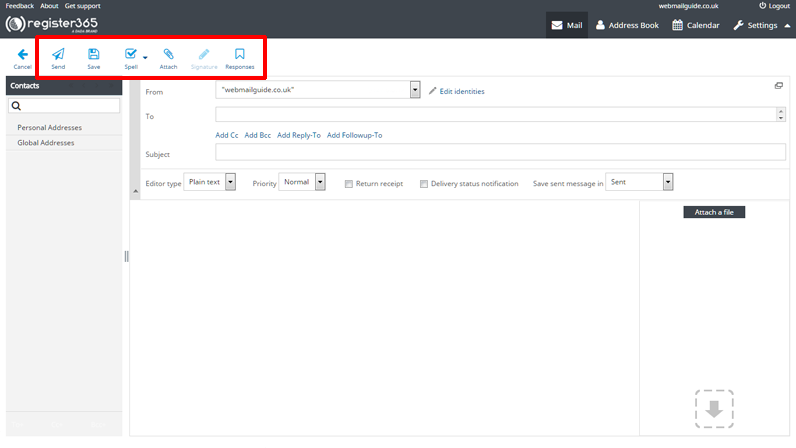
– The icons highlighted from left to right are, Send, Save, Spell Checker, Attach a file, Insert Signature, Insert a predetermined response. Instructions on how to add a signature and a predetermined response can be found further on in this article.
– As you’d normally expect, you have the text formatting tools above where you will compose your Email. If you’re unable to see these it may be necessary to click on to ‘Editor Type’ and select ‘HTML’ as opposed to ‘plain text’, once you have done this, the text formatting toolbar will appear.
– The text formatting toolbar located above the area in which you type your message, work exactly as you would find in Microsoft Outlook or any of your typical Microsoft Office product interfaces.

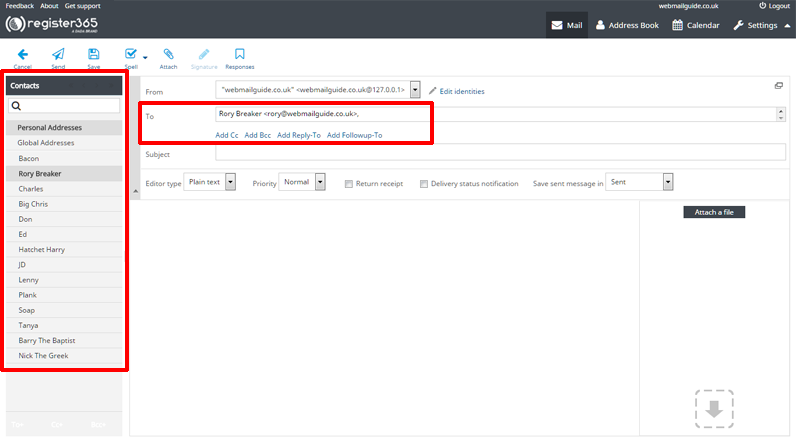
– The recipient field can be filled in manually, or you can use the ‘Contacts’ column on the left to add recipients from your list of saved contacts. First choose the group of contacts you wish to address, such as ‘Personal Addresses’, then double click the contact or multiple contacts you would like the Email to be sent to. Please see the Address Book section further along in this article to find out how you can best utilise the Contacts section.
– Once you have finished writing your message, you can choose to ‘Send’ sends the message immediately, ‘Save’ pops your message into your drafts folder if you would prefer to finish writing it or just send it at a later point in time. If you’d like to check the spelling of your Email beforehand then the ‘Spell’ option will help with this.