How to install WordPress manually
Let’s take a look at how to install WordPress manually on Apache hosting.
1. Download WordPress
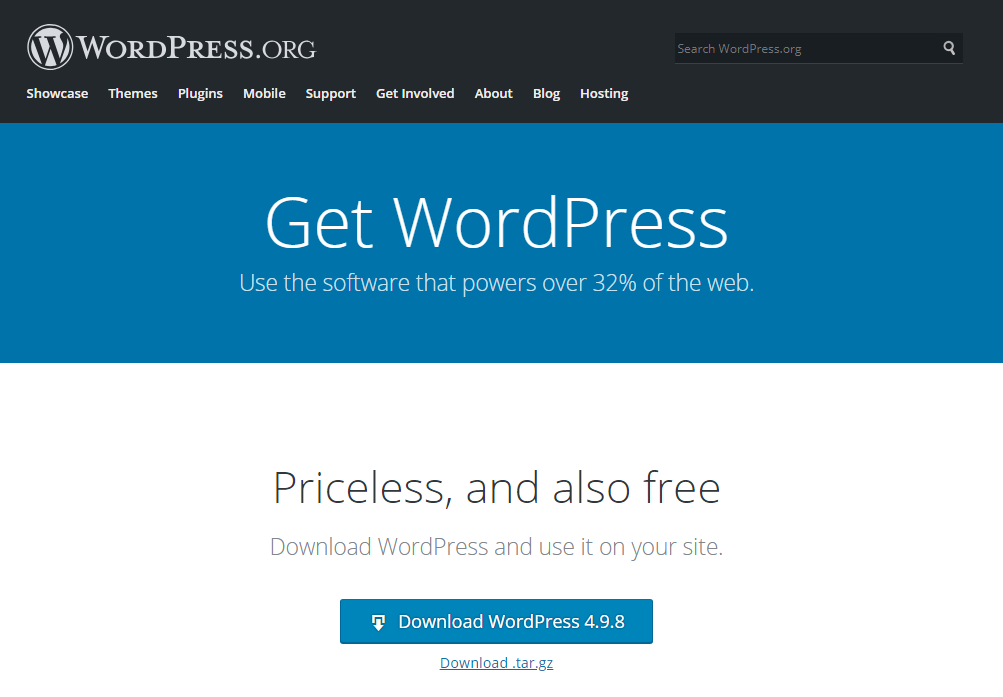
Firstly you will need to download the latest version of WordPress from WordPress.org.
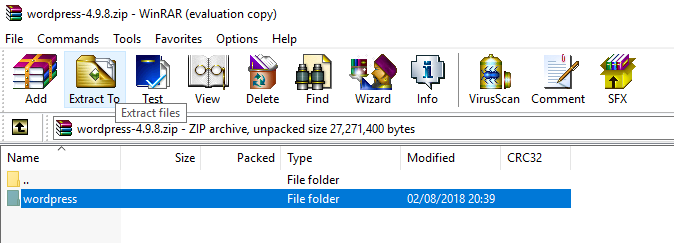
Once you have downloaded the zip file you will need to extract it on your computer. In the example below we have used WinRAR to extract the folder.
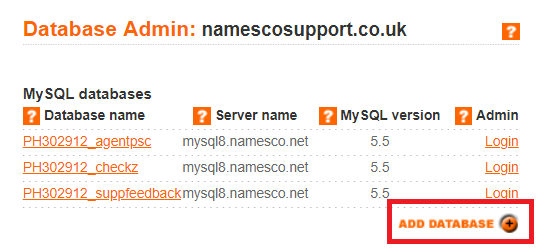
2. Create your database
The next step is to create your database within your Control Panel. If you are unsure on how to do this, please use the following guide for assistance.
3. Upload WordPress files
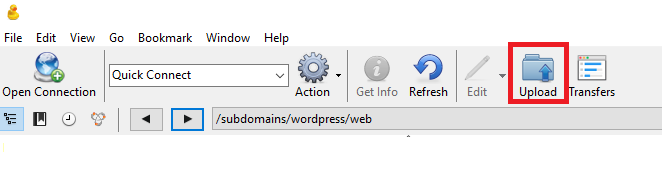
You will now need to upload the WordPress files to your public /web folder via FTP. In our case we used Cyberduck, but you can also use a different FTP client of your choice.
In Cyberduck login via FTP. Navigate to your /web folder, and click Upload.
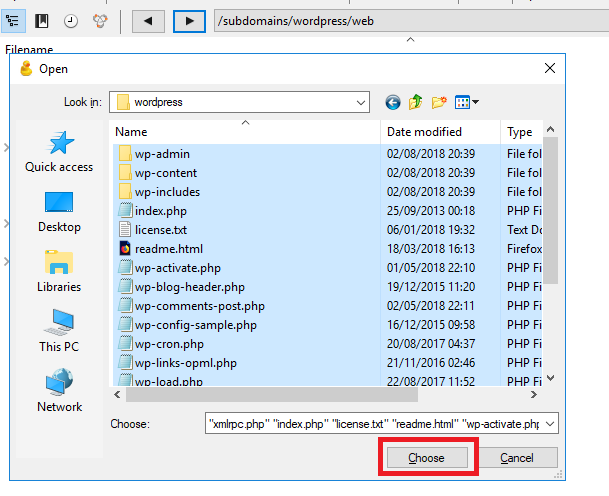
Select the WordPress files that you extracted earlier on, and click Choose.
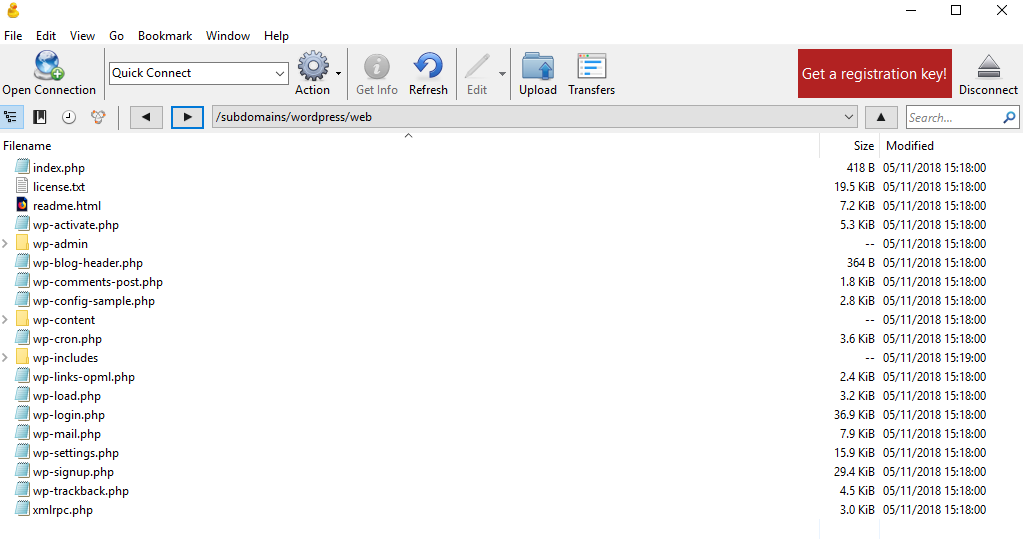
The WordPress files will then be uploaded to your /web folder.
4. Run the WordPress Installer
In a web browser simply navigate to your website. If your website address is yoursite.com and you have uploaded the WordPress files to your root /web folder, you simply need to enter yoursite.com in the address bar.
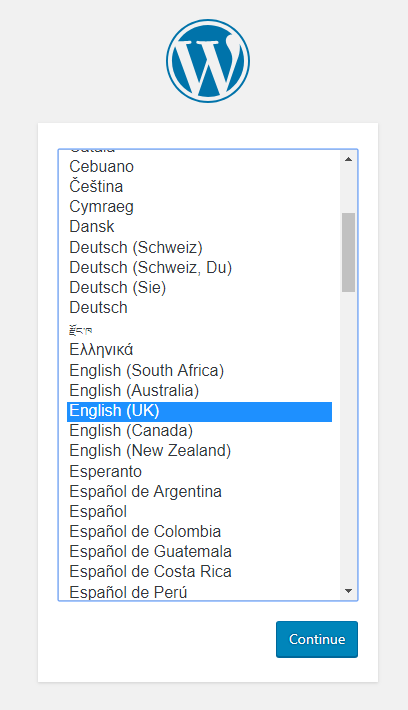
The first step will be to select your preferred language.
Next you will be prompted to enter your database credentials. Just click ‘Let’s Go’ to proceed.

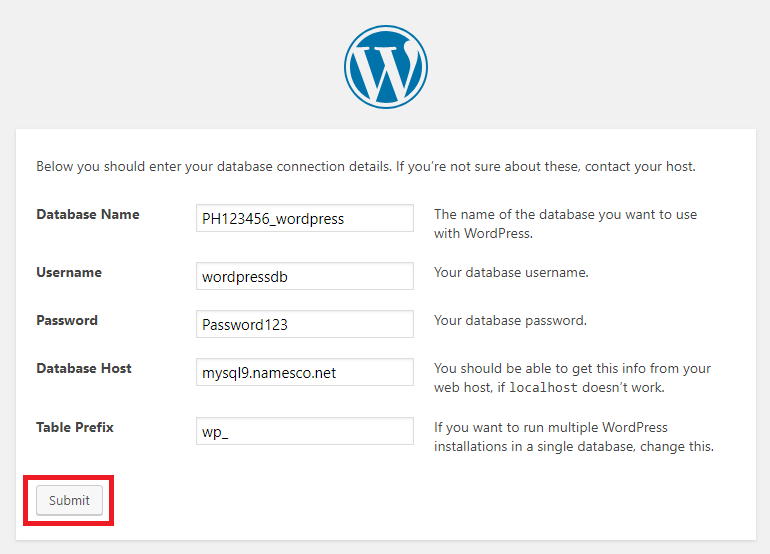
You will now need to enter your database credentials into the boxes below, and click Submit. These will be the details that you entered when you first created your database.
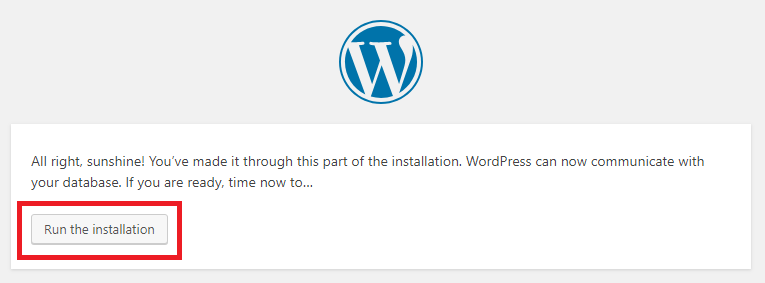
Once WordPress has been able to successfully connect to your database, click Run the Installation.
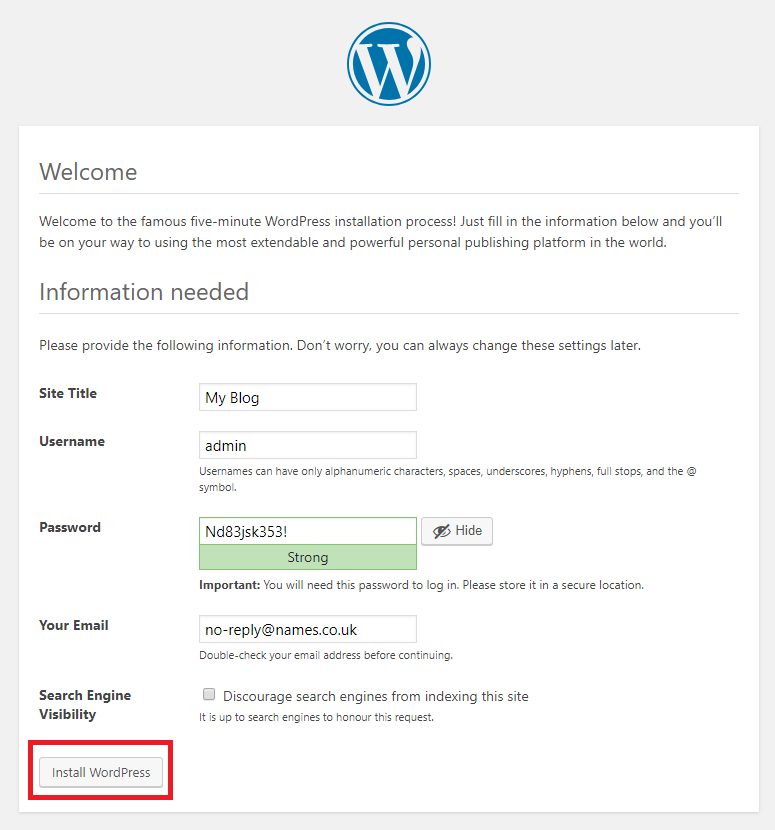
On the next page you will need to enter the required information, and click Install WordPress. It may take a couple of minutes to complete the installation.
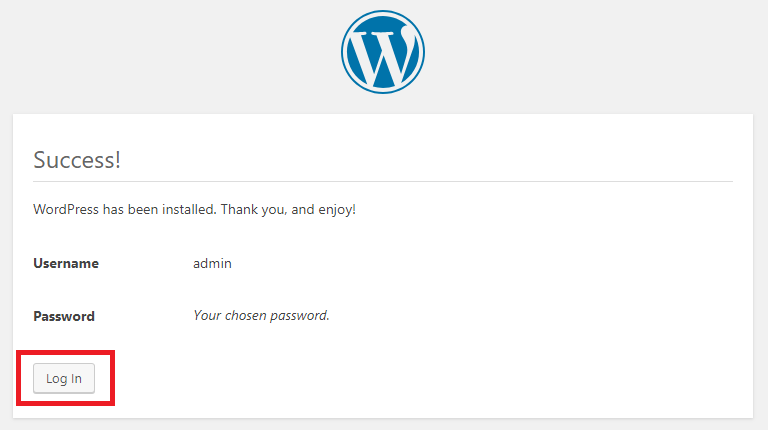
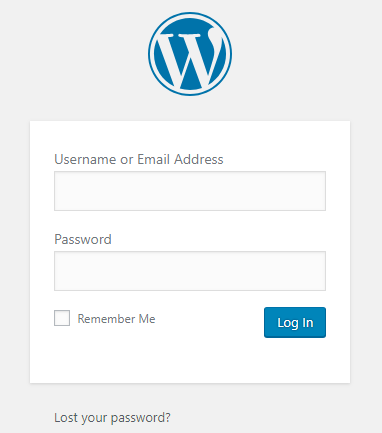
Your WordPress installation will now be complete, and you can use the button shown below to navigate to your WordPress login page.