

How to Generate Terms and Conditions
Start by checking out some important resources:
Info: Before we jump into creating your cookie policy, we want to make sure your logged into your control panel. (Please see our guide below if you’re having issues locating this.) https://www.names.co.uk/support/articles/how-to-access-your-control-panel/
Info: If you haven’t read our introduction guide, I would recommend going through it to ensure your aware of what is needed: https://www.names.co.uk/support/articles/introduction-to-online-compliance/
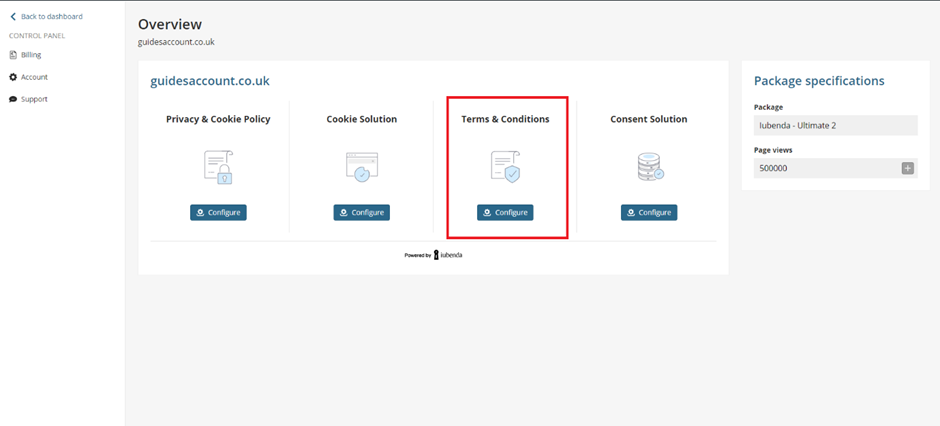
Please click on ‘Configure’ located under Terms and conditions.
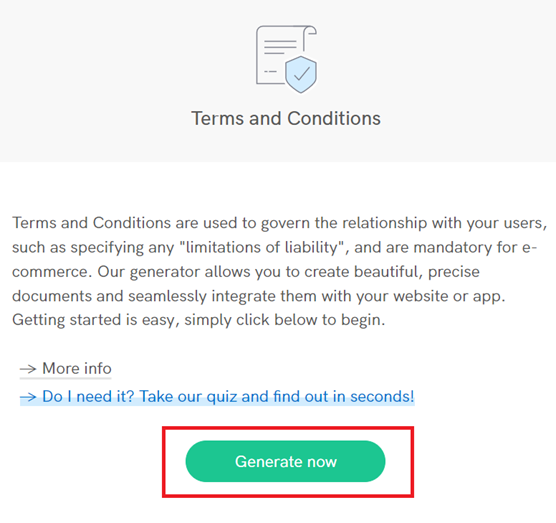
Once there, scroll down and click on ‘Generate now’ under the Terms and Conditions section.
This will take you to the edit area of the Generator where you can add and customize clauses.
Now, by default, a basic set-up was created when you clicked on ‘Generate now’ (you can view this by clicking on ‘Preview’ in the right sidebar).
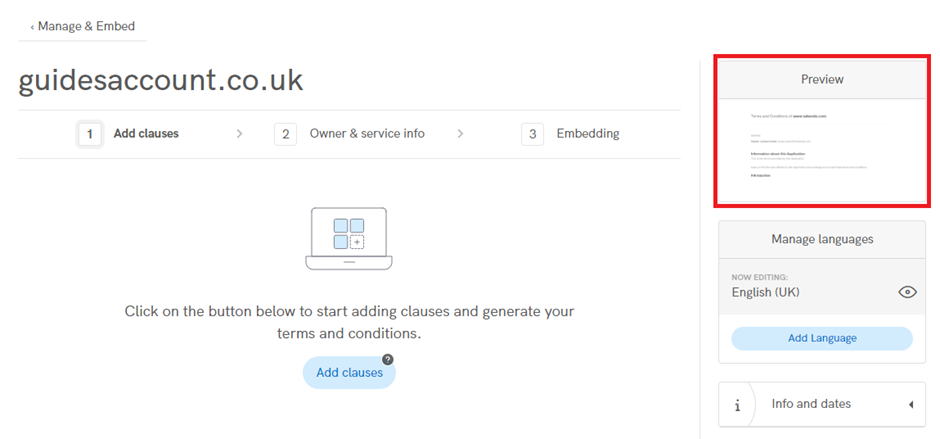
It’s important to point out that, since Terms and Conditions are legally binding documents, it’s in your best interest and we strongly recommended that you customize your documents to suit your situation and business needs. We’ll show you how to do that in the next step.
Customize your terms and conditions
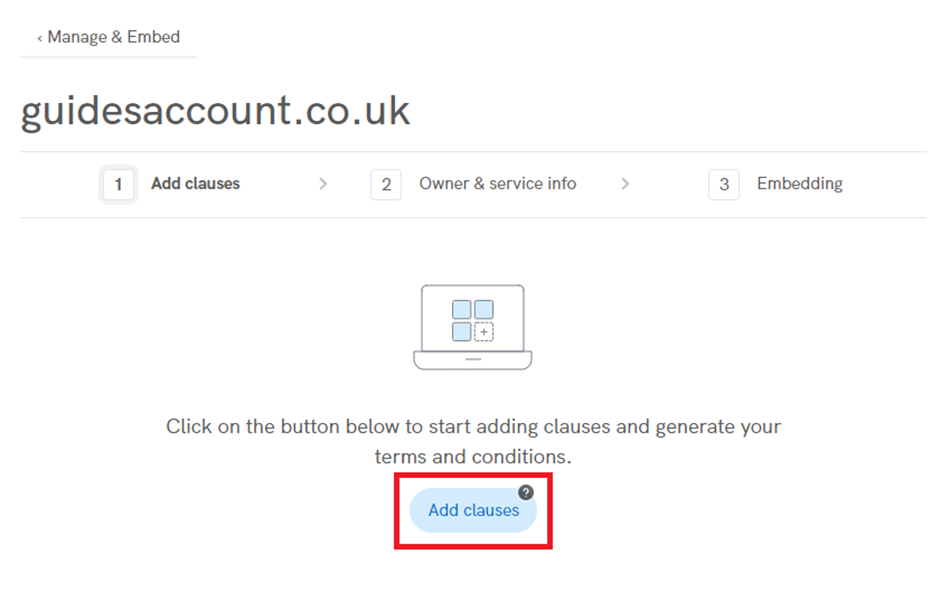
As mentioned above, your Terms of Use needs to be adapted to individual needs. You do this by editing and adding clauses.
First, click on the ‘Add clauses’ button.
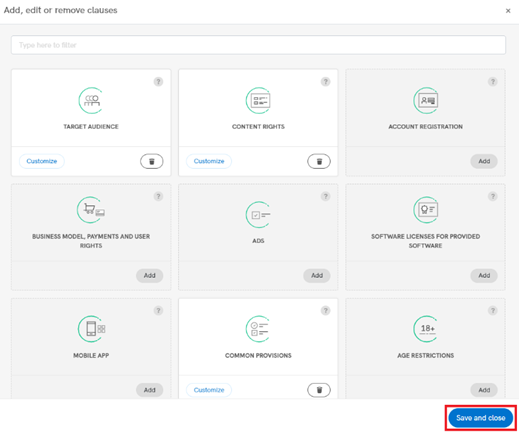
This will open a window which allows you to select and edit the clauses you’d like to add. If it’s your first time using the Terms and Conditions Generator, you see the following:
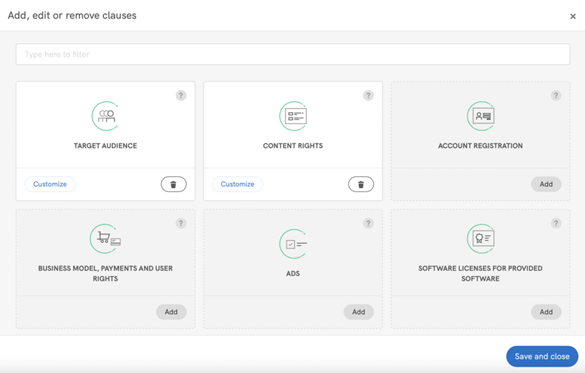
As indicated by the image above, the most needed clauses are pre-selected by default as part of a basic set-up, but you can de-select or add additional clauses where necessary. The clauses are separated into intuitive modules, with on-click guides to help you throughout the set-up process.
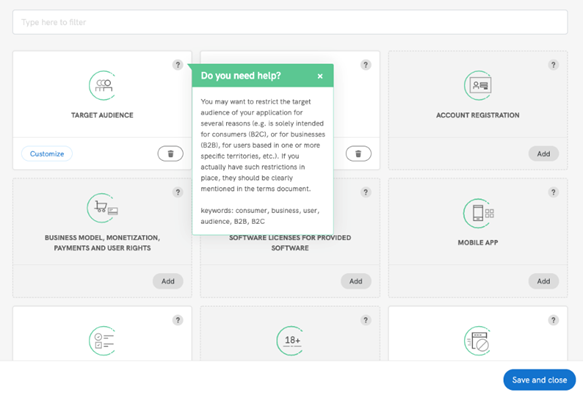
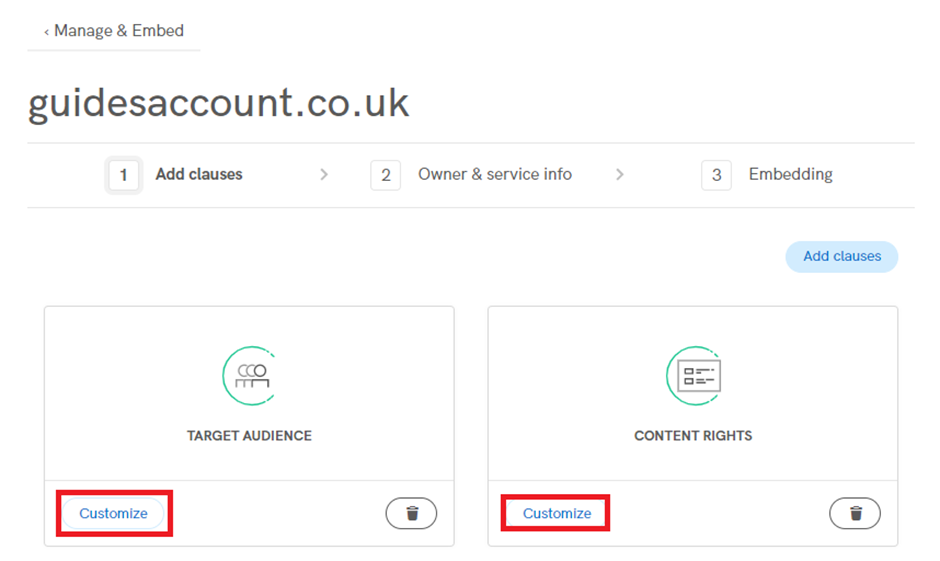
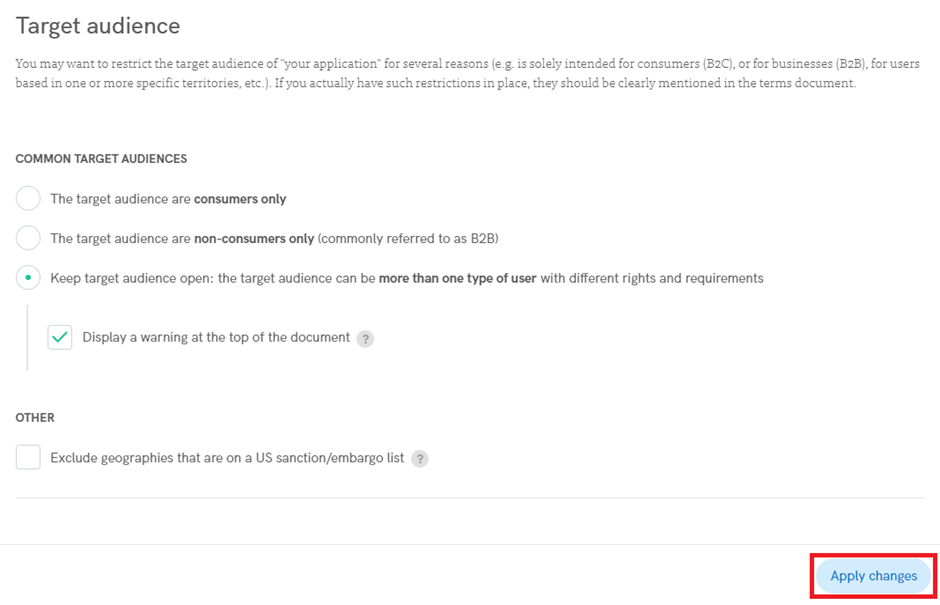
To edit a particular clause, simply click on the ‘Customize’ button. This takes you into the clause where you modify as needed, to fit your scenario.
As mentioned above, the on-click guides are available throughout to make sure that you choose the options that best fit your individual needs.
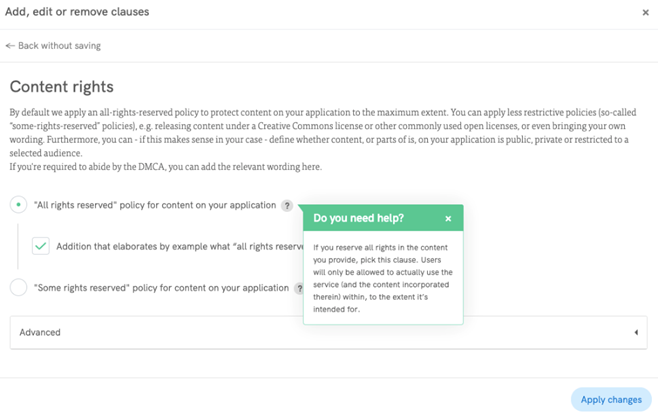
Click on the ‘Apply changes’ button on the bottom right to save your customizations.
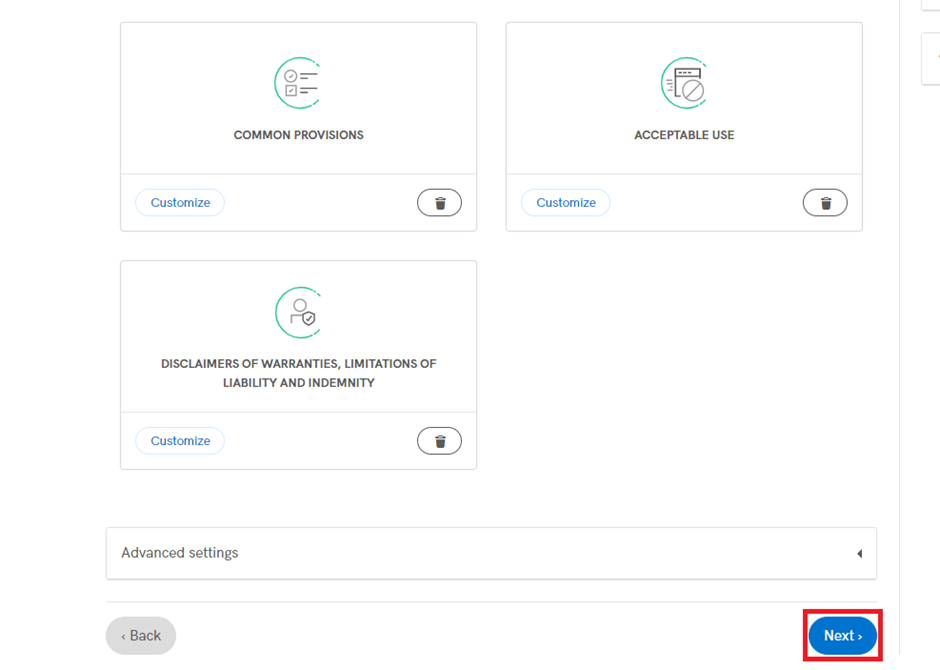
This action will take you back to the main “clauses modal” window. If you’re finished customizing your terms, you can click on ‘Save and close’ on the bottom right of this window and move on to the next step below.
Owner & Service Info
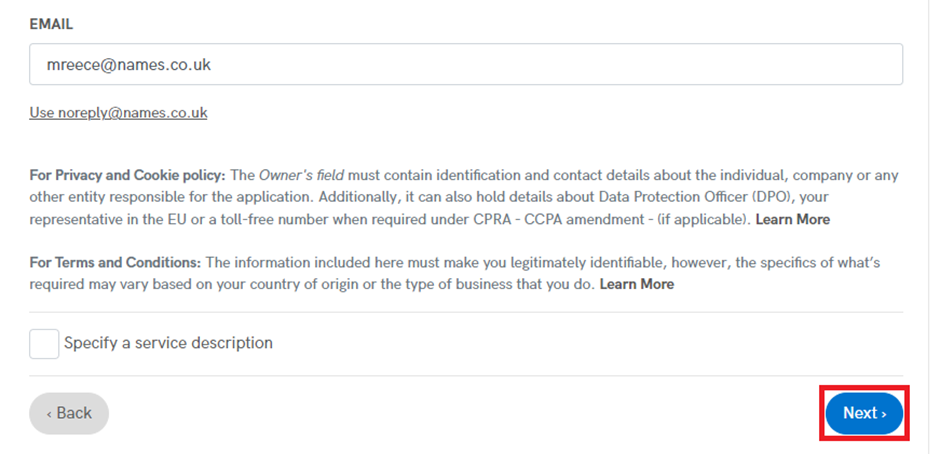
Now that you’re finished editing, you’ll need to enter your business details into the Owner’s Field. To do so, simply click on the ‘Next’ option.
This will take you to the Owner & Service info page.
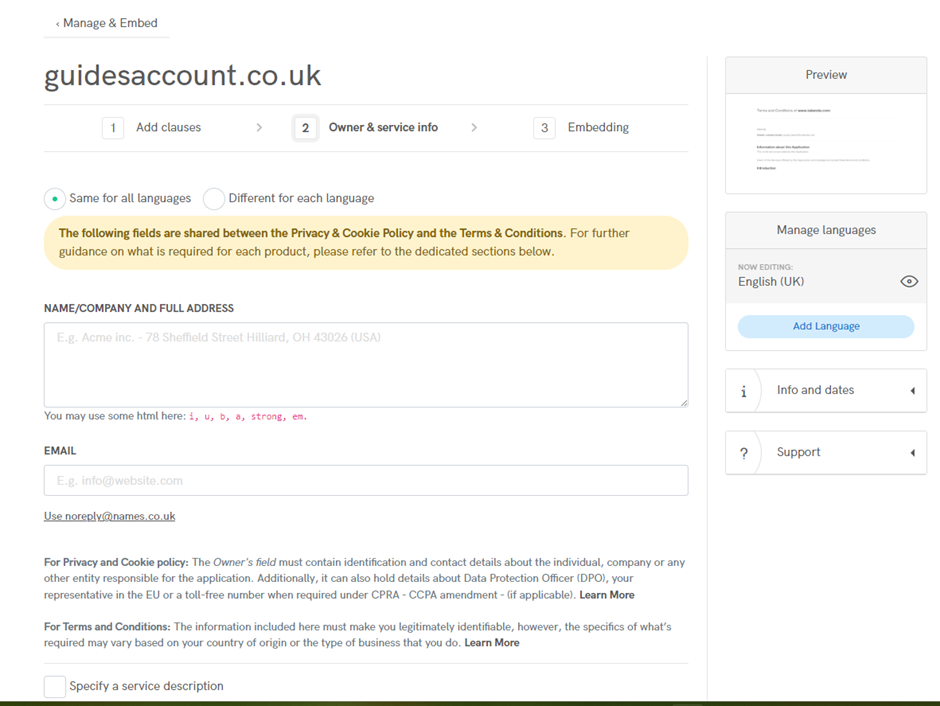
Here you’ll need to enter your legally valid business and/or contact info.
The details of what’s required for your specific scenario might vary based on where your business is located and who it targets. The most required information here usually includes the owner’s/business’ identity, contact details, postal address, and relevant codes of conduct that apply to your business model (if any).
Since Terms of Service are legally binding contracts, it’s important to state legitimate details here. Also, do consider that, in many cases, under Consumer Law, customers must be able to contact you if the need arises.
More details on what’s required can be found in the dedicated guide.
Once you’re finished entering the required info into the Owner’s field, click the ‘Next’ button at the bottom right of the page.
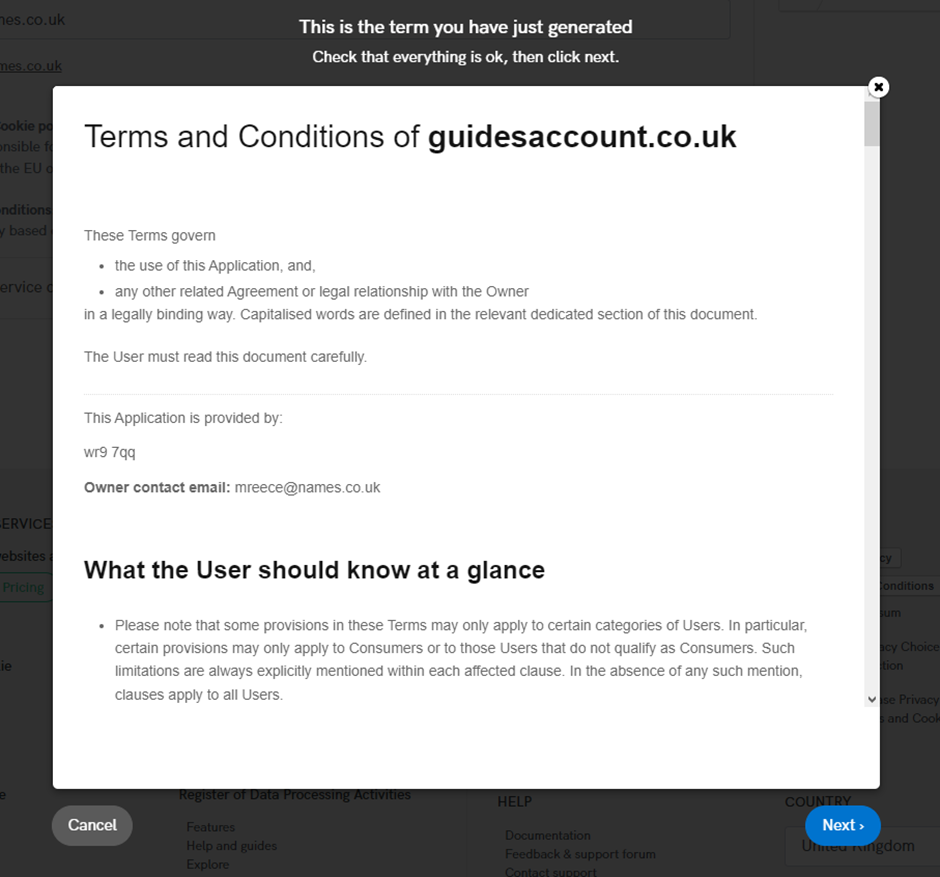
This will display the finished Terms document which again you can click ’Next’ to proceed.
Once completed you can ether continue with your online compliance setup or go straight to embedding your new tool by ether clicking on the ‘setup/active’ options or by clicking ‘Take me to the Embedding Instructions’

Add the terms of use to your site/app
If you need some further assistance on embedding your terms of use I would advise looking at the official guide from our online compliance team explaining it more in detail: https://www.iubenda.com/en/help/19253-integrate-terms-and-conditions-on-your-site-and-app
And you’re done!
Still having issues? If you have any questions, please raise a support request from within your Online Control Panel or call us at 01 5255768. Our customer support team will be happy to assist you.