How to set up a POP3 account in Mac Mail
The following tutorial is provided as a courtesy to our customers to help you configure your mail software to work with Register365 mail solutions. Third-party software cannot be supported directly by Register365.
If you cannot find the exact software version you are using or have further questions about configuring Mac Mail for any reason, please visit: Apple – Support – Mail section
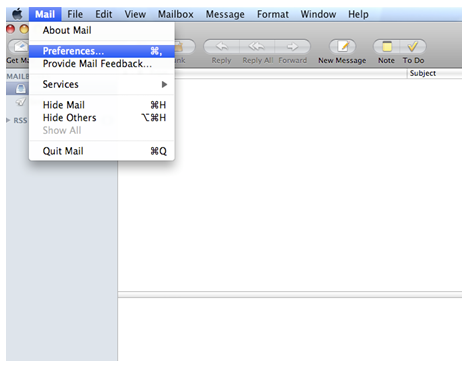
– Select the Mail menu and click Preferences
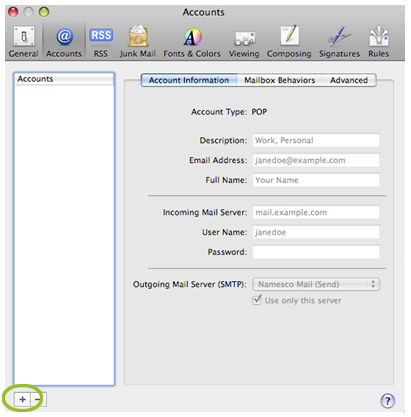
– Click ‘+‘ in the Accounts section
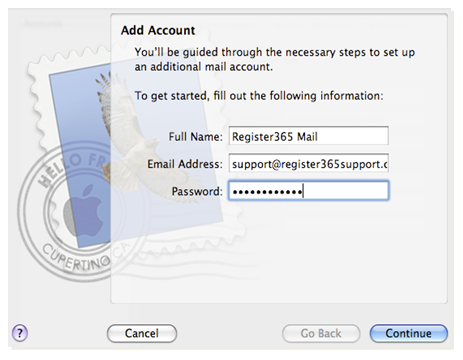
– Enter your Full Name, Email Address and Password then click Continue
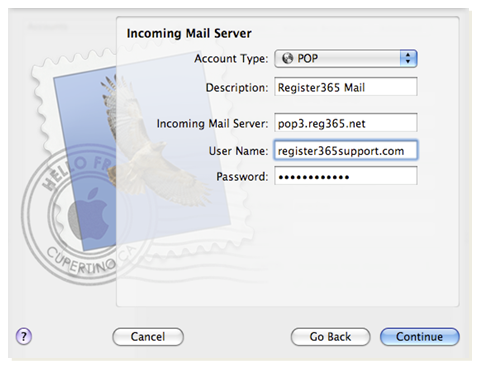
– Set the Account Type as POP. Your Description can be anything that will allow you to identify your account. The Incoming Mail Server should be set to pop3.reg365.net. User Name will be your mail box name (see Webmail), then enter your Password and click Continue
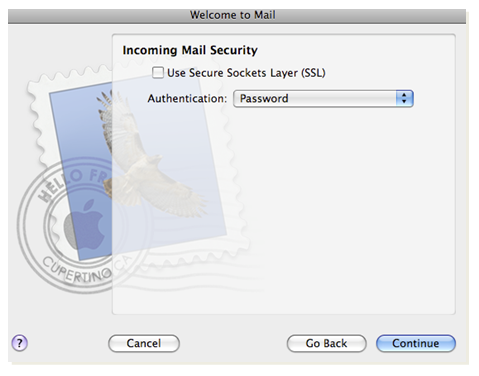
– SSL is not needed so Use Secure Sockets Layer should not be selected. Set Authentication to Password then click Continue
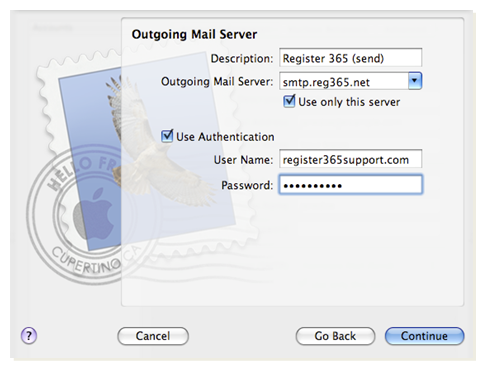
– Enter the Description for your Outgoing Mail Server, it does not matter what this is set to. The Outgoing Mail Server will depend on who your provider is. If you have purchased Authenticated SMTP Access, you should set the server to smtp.reg365.net. If you have not purchased this product, you will need to use your internet providers details. Tick Use Authentication and enter the User Name and Password supplied by your provider, then click Continue
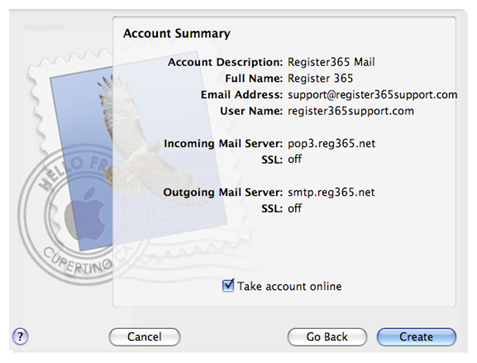
– Select Take account online then click Create