How to set up a POP3 account in Microsoft Outlook 2010
Tip: If you require further assistance setting up your emails then why not consider our new KickStarter service. For more information please contact our Sales team on 01 5255768.
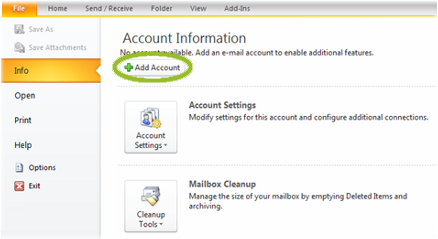
– Open Microsoft Outlook 2010 and click on the File tab and then Add Account
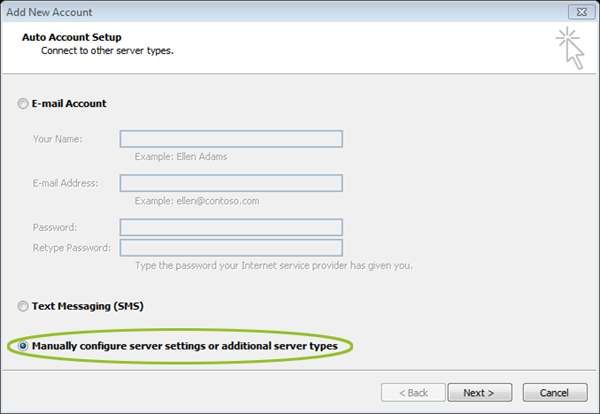
– Select Manually configure server settings……. then click Next
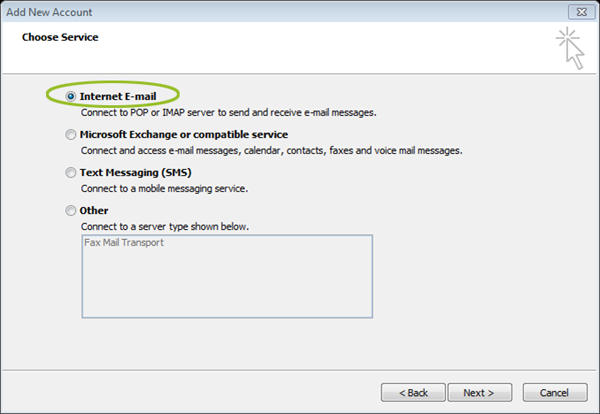
– Select Internet E-mail and click Next
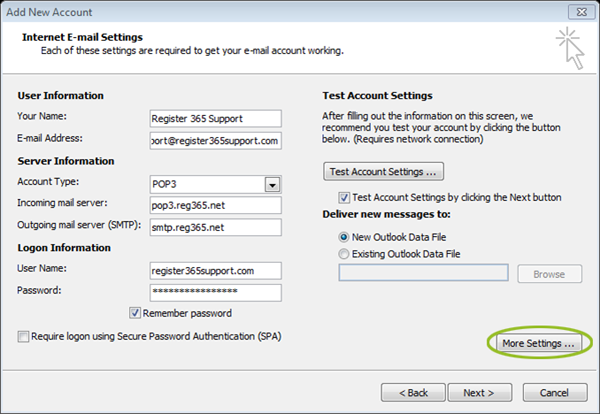
Next we need to enter our server settings as follows:
- Your name – enter your own name or company name depending on what you would like recipients to see.
- email address – enter the email address you are setting up
- Account Type – POP
- Incoming mail server – pop3.reg365.net
- Outgoing mailserver (SMTP) – your SMTP server will be smtp.reg365.net only if you your have purchased Authenticated SMTP Access, if you need to purchase this product please contact our Sales team on 01 5255768
- User Name and Password – Your Username and Password are as you have set up in your Online Control Panel, if you are unsure of your Username and or Password please see this guide to reset your Password, http://www.register365.com/knowledge/842.html
Once you have entered your details click More Settings
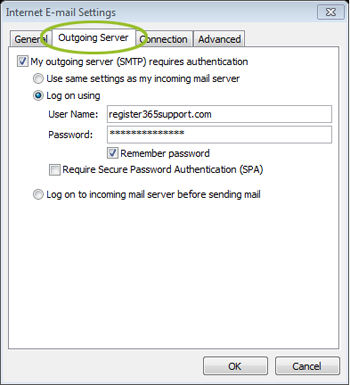
Now we need to enter the outgoing SMTP details, select Outgoing Server from the tabs at the top.
Tick the box labelled My outgoing server (SMTP) requires authentication then select the option Log on using
Your Username and Password are as you have set up in your Online Control Panel, if you are unsure of your Username and or Password please see this guide to reset your Password, http://www.register365.com/knowledge/2219.html
Once you have entered the details click OK
– Click Next, then Close
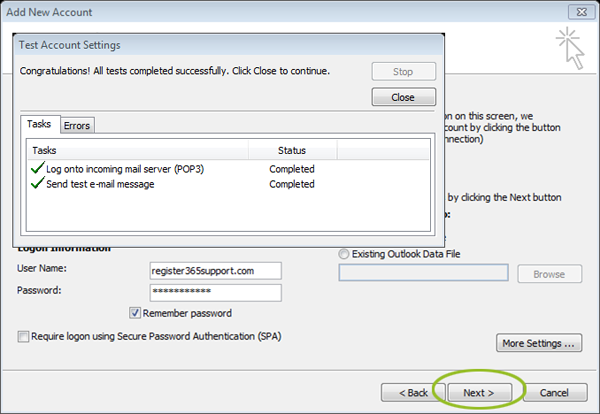
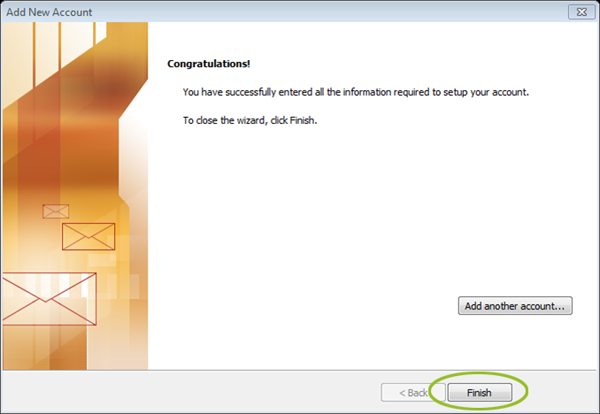
– Click Finished