

Managed WordPress: Test Environments
Our Managed WordPress servers include a test environment where you can test additions to your site and be comfortable in the knowledge that you won’t accidentally break your live website. If you want to learn more about this, then you can follow the steps below:
Step 1:
First, make sure that you are logged in to your control panel: https://login.register365.com/login
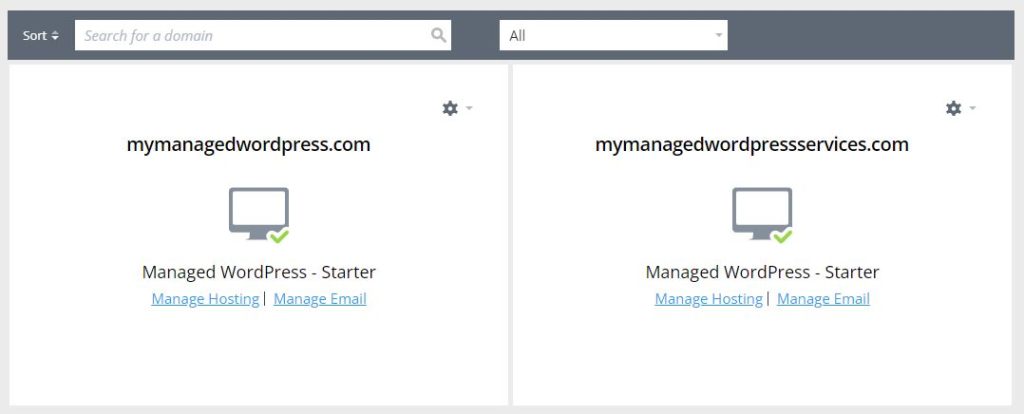
When you are logged in, you will see your owned or managed domains listed in separate boxes.
When you see the domain that you want to manage, you can click the blue link that says, ‘Manage Hosting’ and this will load into your Managed WordPress dashboard.
Step 2:
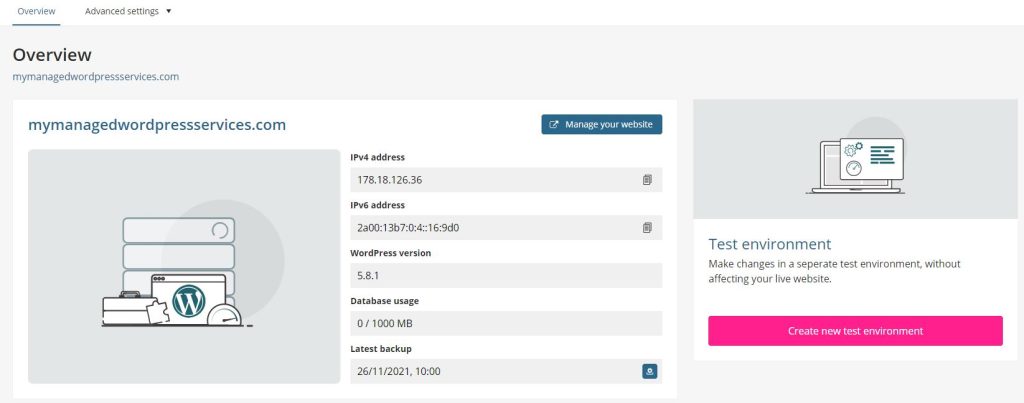
Here you’ll see some information about your WordPress website, and various options that can be used to manage the service.
You’ll also see an option to create a new test environment on the right side of the page.
Step 3:
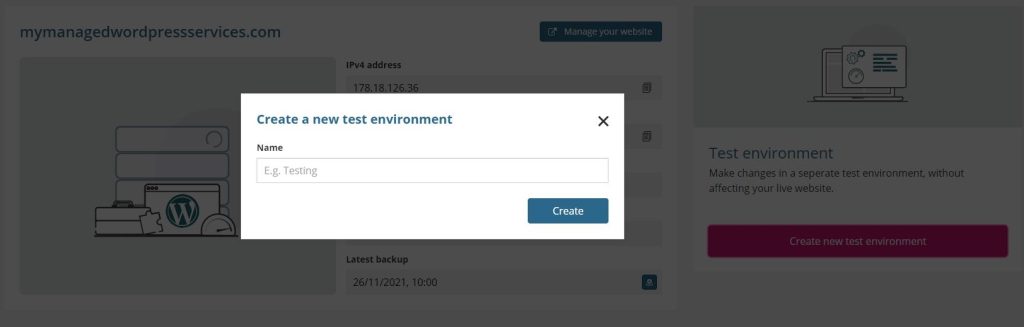
If you click the button labelled ‘Create new test environment’, you’ll be prompted to create a name for it. This can be ‘test’, or ‘dev’ or anything that you feel is appropriate here.
Once you have decided, then click the ‘Create’ button and a direct copy of your live site will be made and placed on your new test environment for you to get to work straight away.
Info: It is important to note the following: The test environment is not a staging site, and you will not be able to push the changes that you have made to the live site.
You will need to replicate the changes that you want on the live site once you are satisfied with them.