

How To Connect to Microsoft 365 Emails Using DNS Settings
In this article, we will show you how to connect your domain to your newly purchased Microsoft 365 package. We will show you how to input the various DNS settings required to validate your domain with Microsoft so you can get started with using the service.
Getting Started
Once you have purchased your chosen Microsoft 365 package with us, you may need to wait up to 2 hours for your package to provision on your Control Panel.
After this has been completed, you will then be granted access to your Microsoft 365 Admin details.
TIP: Unsure where to find your Admin details? If so, please refer to our support guide HERE.
Step One
Using your newly created Microsoft 365 Admin details, visit the Microsoft Portal area at https://login.microsoftonline.com/ in a new tab on your web browser.
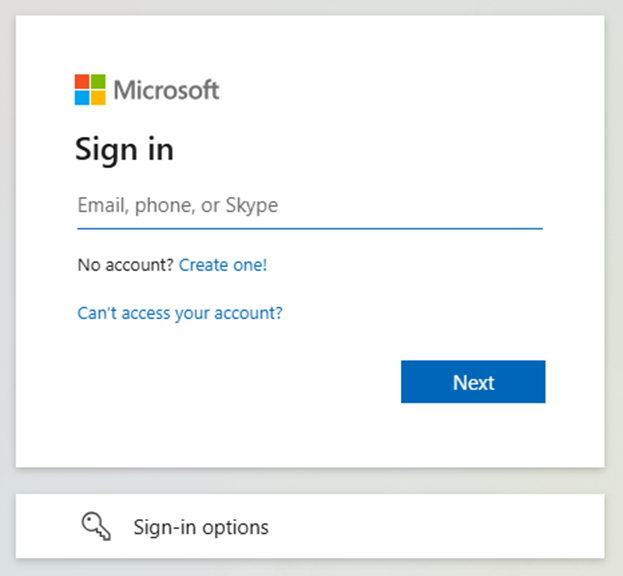
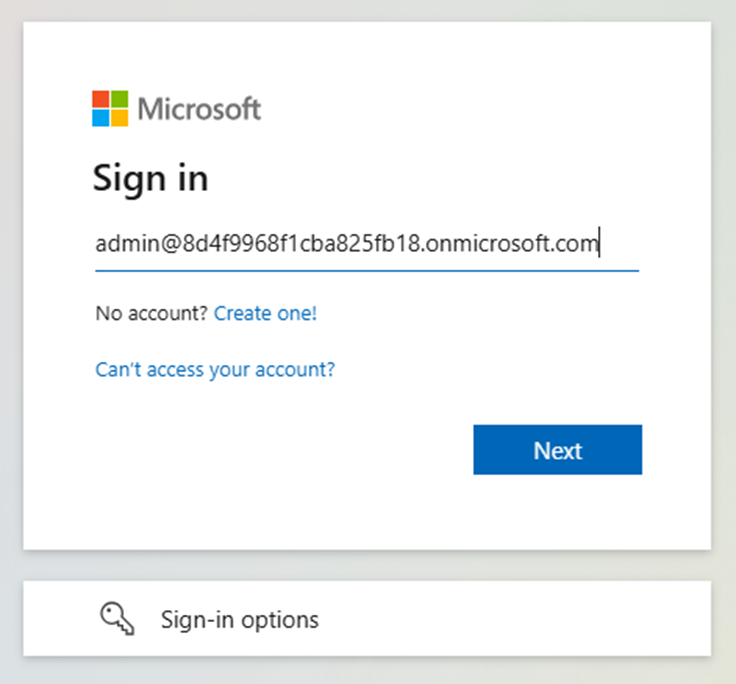
Step Two
Enter your Admin username, then click Next.
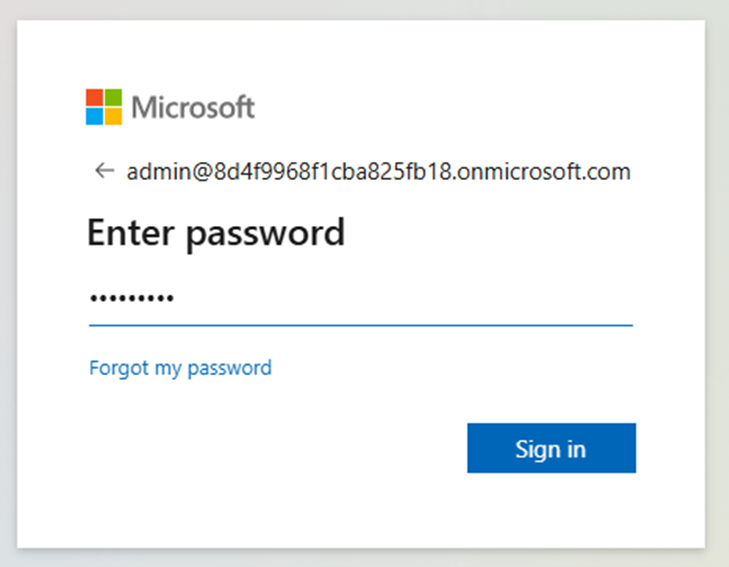
Step Three
Enter your password, then click Sign in.
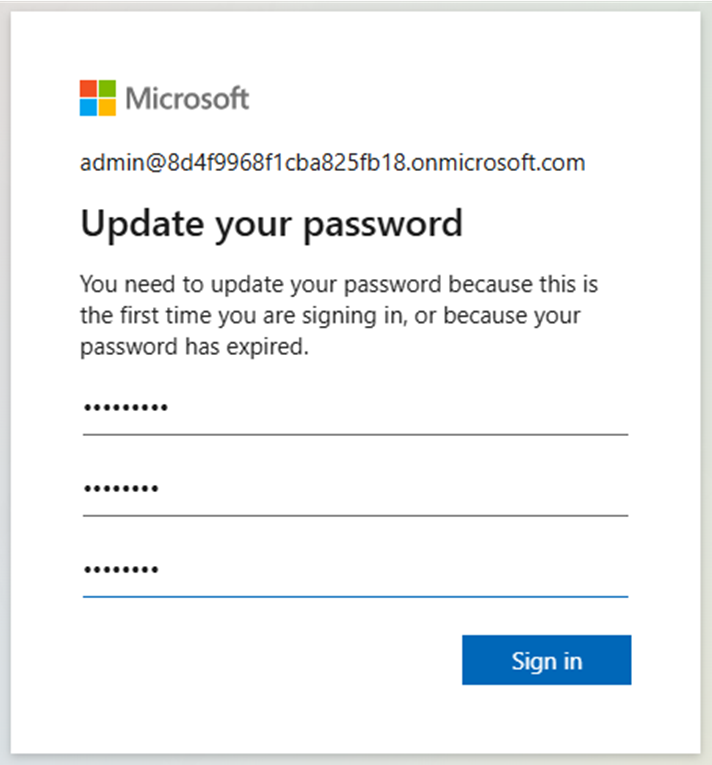
Step Four
Upon logging in, you will be prompted to create a new password. It is recommended that your password be at least eight characters in length and include a combination of uppercase and lowercase letters, numbers, and symbols. After confirming your current password, entering a new secure password, and verifying it beneath, please select Sign in. Please ensure that this newly created password is securely recorded and stored.
Step Five
On the next page, you will be required to set up two-factor authentication on your account, in accordance with Microsoft’s latest security practices. Please follow the on-screen prompts to complete the process.

Step Six
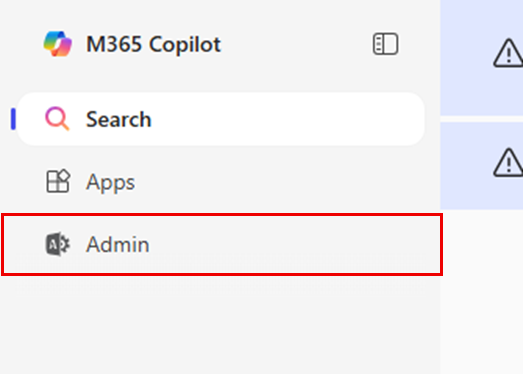
Once you have completed the two-factor authentication process, you will be directed to the homepage of your Office 365 Admin area. To begin connecting your domain, select Admin from the menu column on the left-hand side of the page.
Step Seven
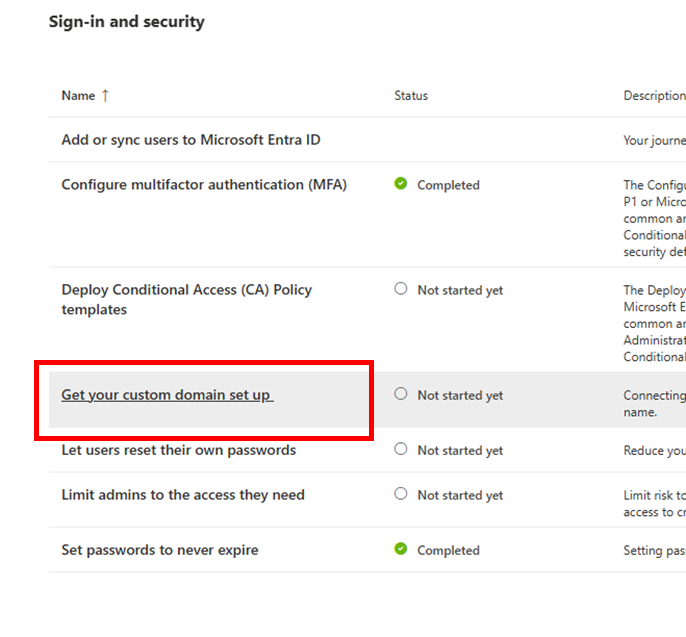
Select Setup, then select Sign-in and security < Get your custom domain setup.
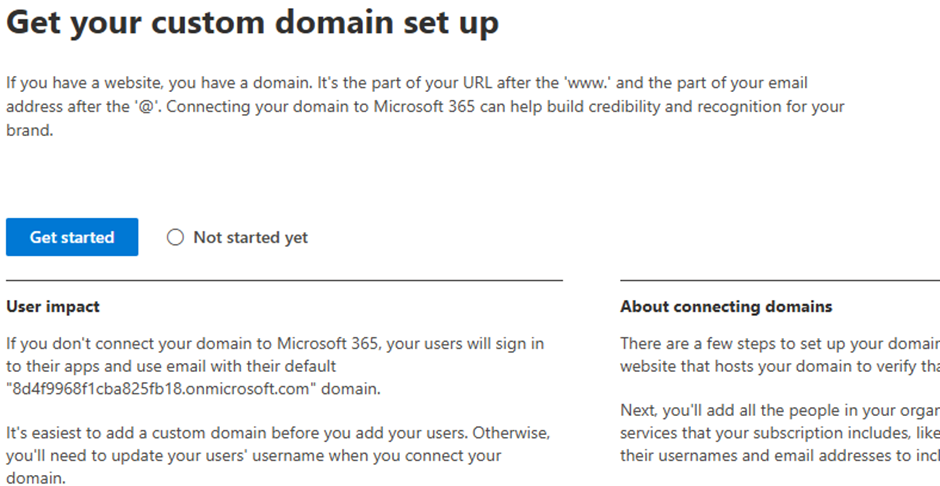
On the next page, select Get Started.
Step Eight
Enter your domain, then select Use this domain.

Step Nine
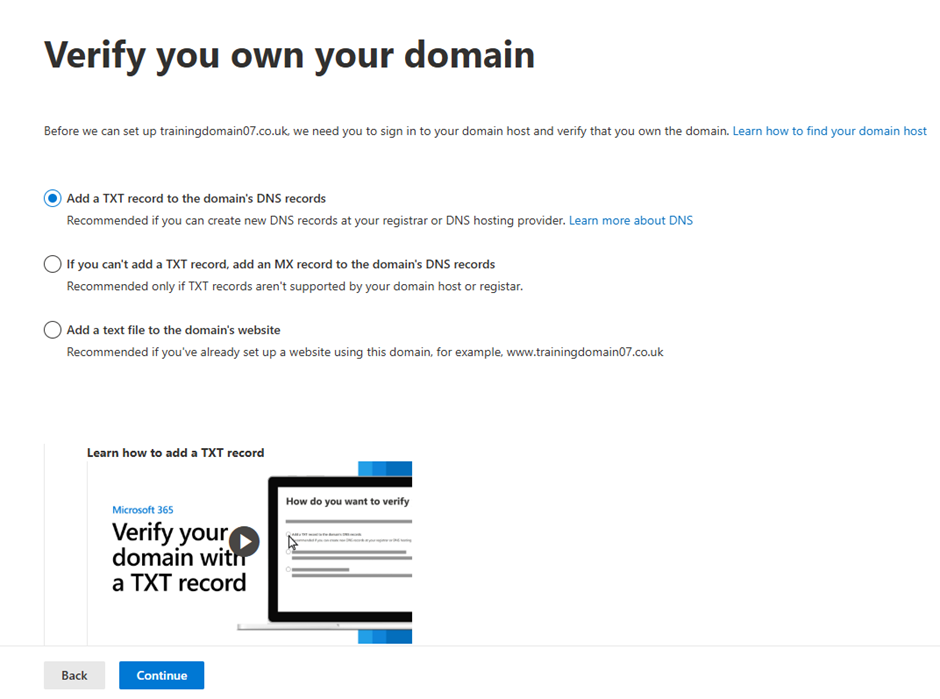
NOTE: You will now undergo the process of connecting your domain to your Office 365 package using DNS settings. In this guide, we will guide you on inputting these settings on our nameservers, but your domain’s nameservers may be held externally. If you are unsure where your domain’s nameservers are held, you can follow our guide HERE.
To begin the process, select Add a TXT record to the domain’s DNS records.
Step Ten
You will be presented with your unique TXT record. Open a new tab in your web browser, enter this record into your domain’s DNS administration area, and publish the changes. Once completed, return to this page and select Verify.
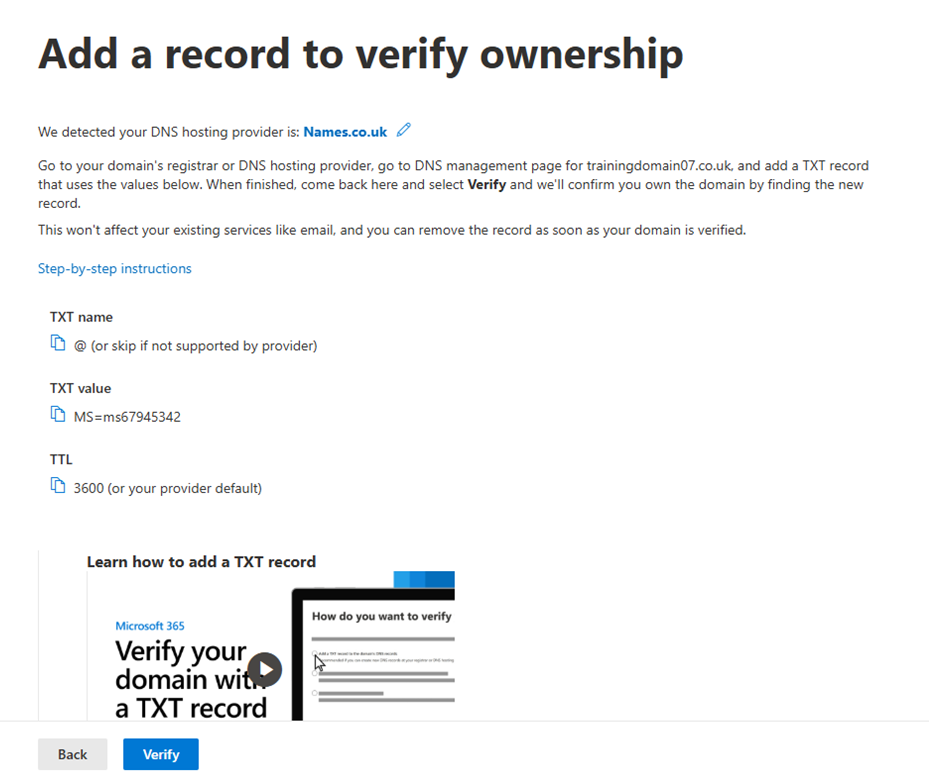
TIP: If you are unsure on how to administer your DNS settings with us, you can follow this guide HERE.
If you are inputting your DNS on our nameservers, the DNS entry will look like this:

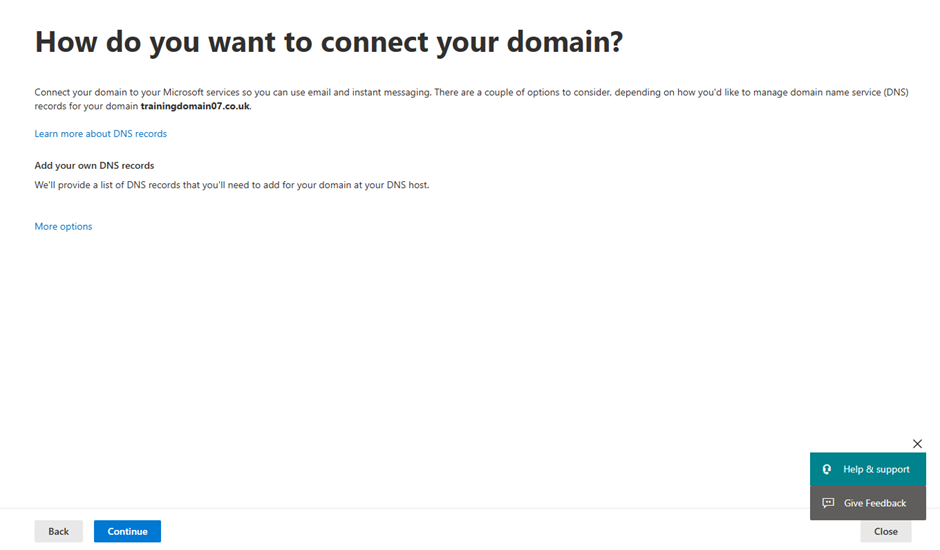
Step Eleven
Once you have successfully verified the domain using your TXT record, you will then be given the remaining DNS settings to complete the set up. On the ‘How do you want to connect your domain?’ page, select Continue.
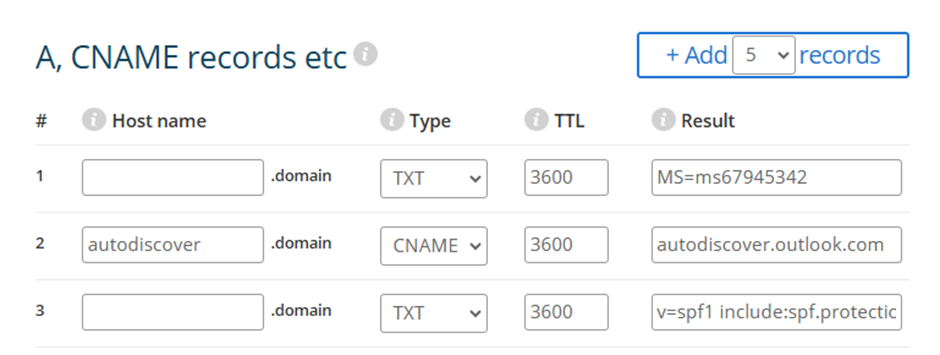
Step Twelve
On the Add DNS Records page, expand the drop down options for MX Records, CNAME Records and TXT Records to be presented with the remaining DNS records you will need.

You will need to copy and paste these records also into your domain’s DNS administration area and publish them.
If you are inputting these DNS settings on our nameservers, the DNS entries will look like this:

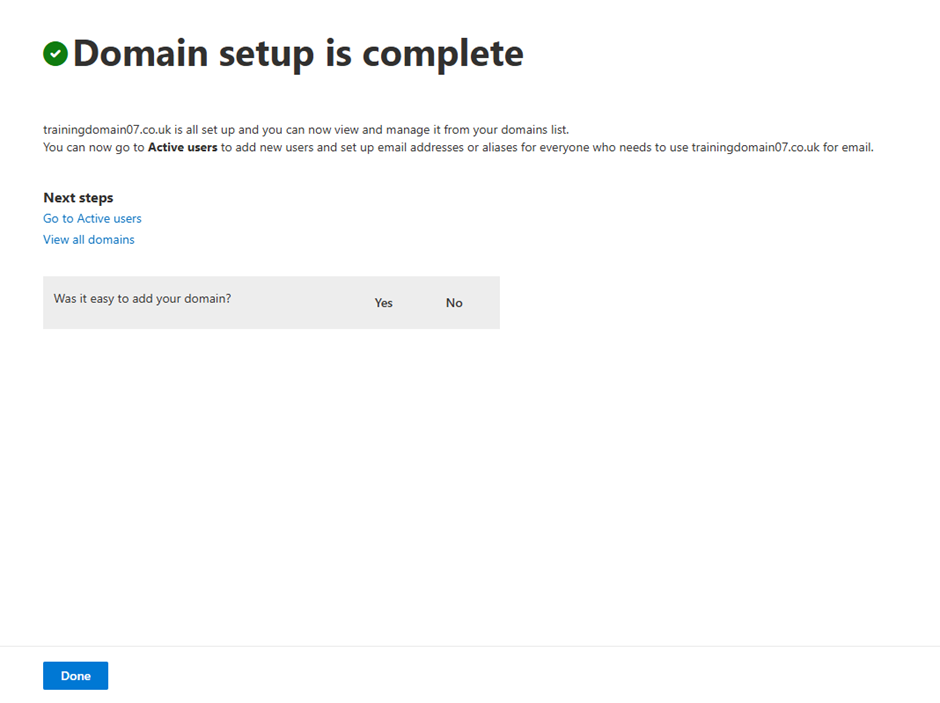
Step Thirteen
Once you have published the DNS settings, click Continue at the bottom of the page to finish the set up.
If you have any further questions, simply raise a support request from within your Online Control Panel or call us on 01 5255768. Our Support team are here to help and ready to assist you with your enquiry.
For assistance raising a support request please follow the following guide.